31-Jul-2019
8204616100
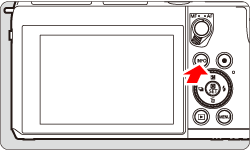
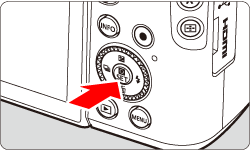
 > button.
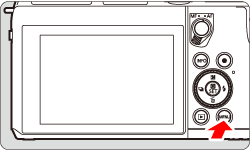
 > button to choose the [
  ] tab.
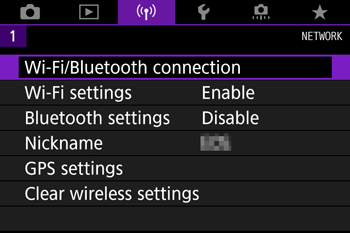
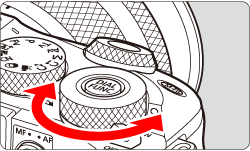
 > dial to choose [ Wi-Fi/Bluetooth connection ], press <
  >.
>.
 > dial to choose [
  Print from Wi-Fi printer ], press < >.
 > <
> <  > buttons to switch to other screens.
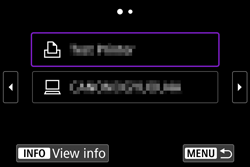
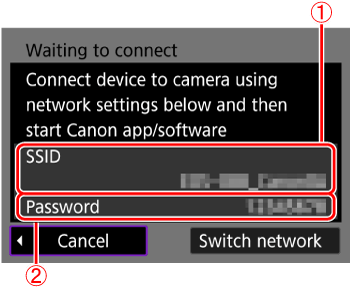
 > dial to choose [ Add a device to connect to ], press < >.
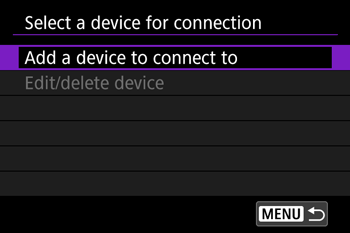
 ) and password (
  ).
). > dial to choose the printer to use and press < >.
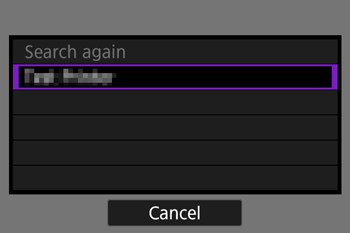 > dial to choose an image and press < >.
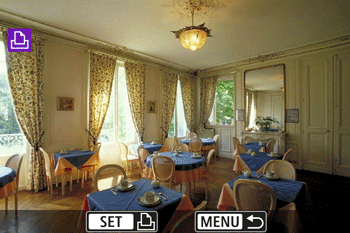 > dial to choose [ Print image ] and press < >.
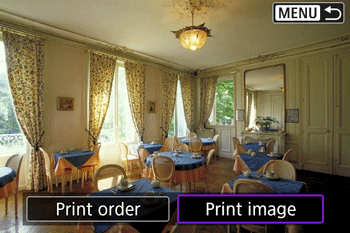 > dial to choose [Print], and press < >.
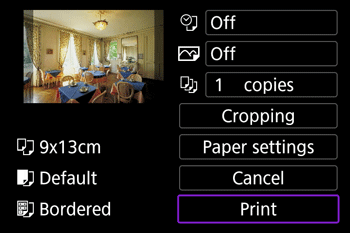 > dial to choose [ OK ], press < >.
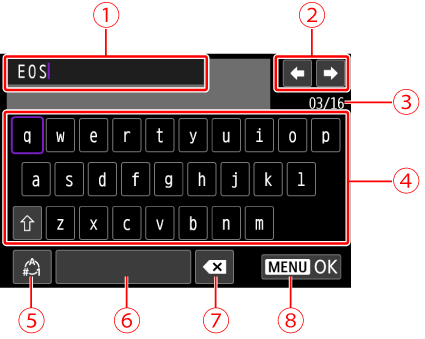
| Input area, for entering text |
| Cursor keys, for moving in the input area |
 | Current no. of characters/no. available |
 | Keyboard |
 | Switch input modes |
 | Space |
 | Delete a character in the input area |
 | Finish the text entry |