• Our Customer Care Centre will be closed earlier at 12pm, on 24 December 2024. Usual operating hours will resume on 26 December 2024. We apologise for any inconvenience caused.

    Adding a Date Stamp when Shooting (PowerShot G5 X Mark II)

    27-May-2019
    8204326100

    Solution

      The camera can add the shooting date to images, in the lower-right corner.
      However, note that date stamps cannot be edited or removed, so confirm beforehand that the date and time are correct.
      IMPORTANT
      • Not available in some shooting modes.

      The procedure for adding a date stamp to images during shooting is explained below.

      1. Turn the camera on.

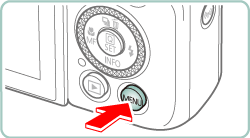
      2. Press the button.

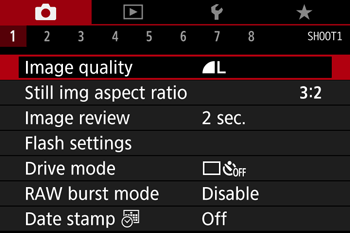
      3. Use the zoom lever to choose the [ ] tab.

      4. Press the / button to choose the [ ] tab.

      5. Press the / buttons to select [ Date stamp ] , then press the [ button.

      6. Press the / buttons to select [Date] or [Date & time] , then press the [ button.

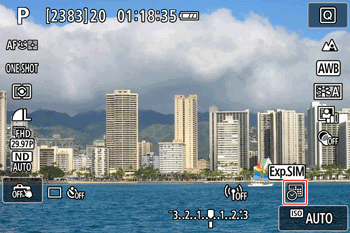
      7. Press the button.

      8. [ ] or [ ] is displayed.


      NOTE
      If the icon does not appear, press the button several times.

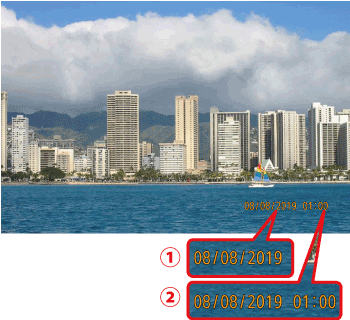
      9. The [Date Stamp] will be added to the images as shown below:
      : [Date]
      : [Date & time]
      IMPORTANT
      Shots taken without adding a date stamp can be printed with one as follows.
      However, adding a date stamp this way to images that already have one may cause it to be printed twice.
      - Print using printer functions
      - Use camera DPOF print settings to print