07-Nov-2017
8203662100
 icon, and camera setting procedures are indicated by the
  icon.
icon.  ] high, [
  ] medium, [
  ] low, [
  ] weak
 1. Install Camera Connect.
 2.Register a nickname.
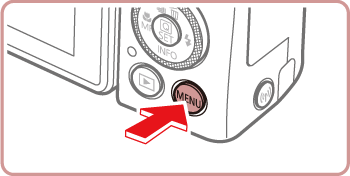
 ][
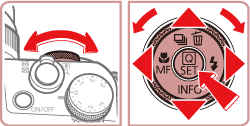
][  ] buttons or turn the [
  ] dial to choose the [
  - 4 ] tab.
 ][
][  ] buttons or turn the [
  ] dial to choose [Wireless settings], and then press the [
  ] button.
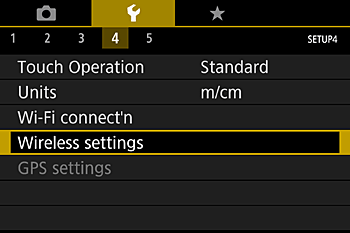
 ][
][  ] buttons or turn the [
  ] dial to choose [Nickname], and then press the [
  ] button.
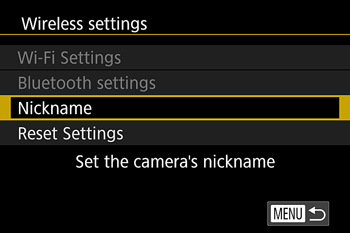
 ] button to access the keyboard, and then enter a nickname.
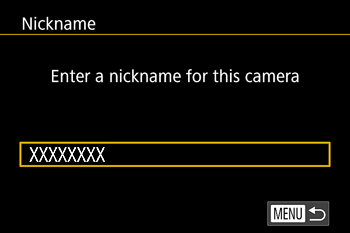

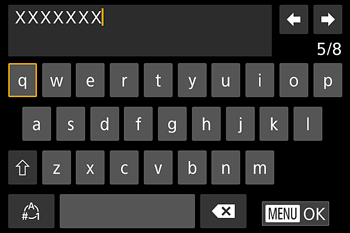
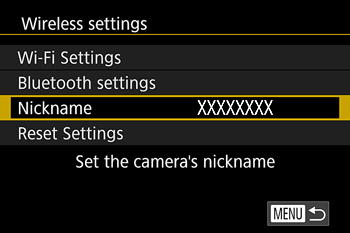
 3. Prepare for pairing.
 ][
][  ] buttons or turn the [
  ] dial to choose [Pairing], and then press the [
  ] button.
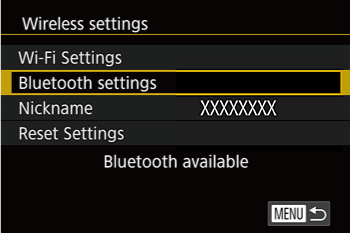

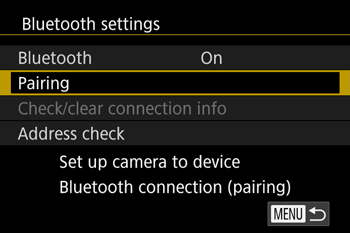
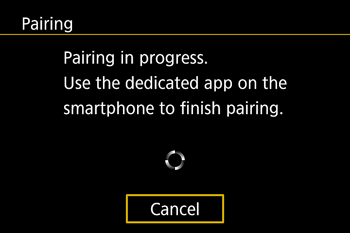
 4. Start Camera Connect.
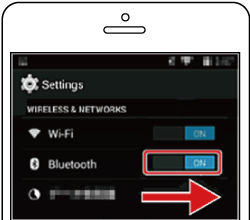


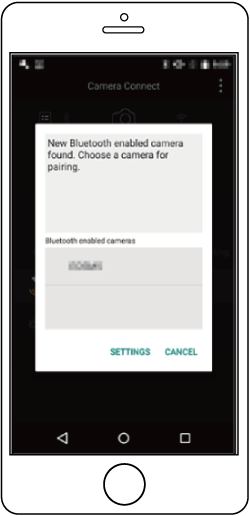
 5.Select the camera to connect to.
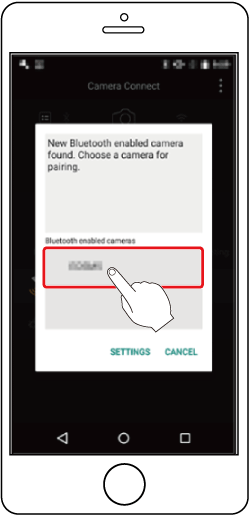

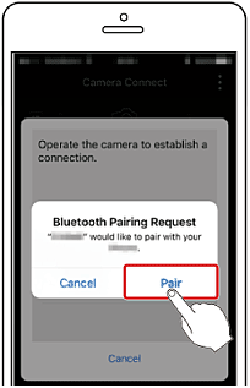
 6.Complete pairing.
 ][
][  ] buttons or turn the [
  ] dial to choose [Yes], and then press the [
  ] button.
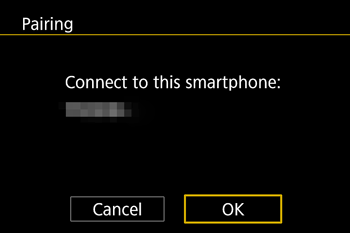
 ] button when the screen below is displayed.
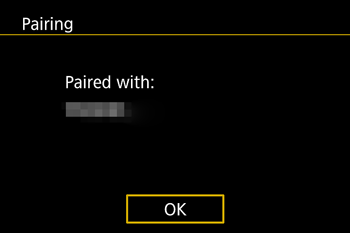
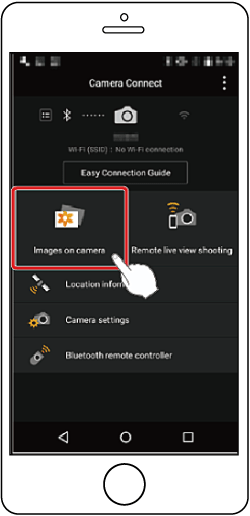
 7.Touch [Images on camera] in Camera Connect.

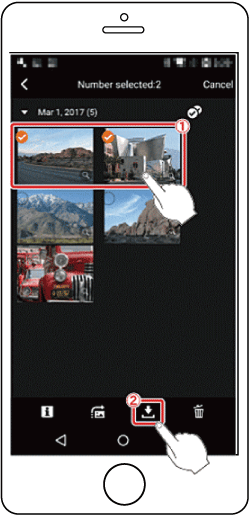
 , and then touch [
  ] on the bottom right of the screen
 . The selected images will be saved to the smartphone.
  ] icon in the upper right of the screen, and then touch [
  ] on the bottom right to save them on your smartphone).
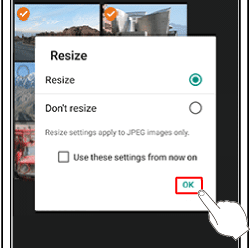
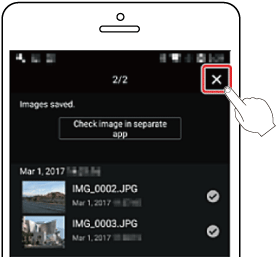
 ] appearing in the upper right of the screen, and then touch [
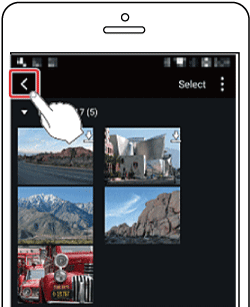
  ] in the upper left of the screen to return to the menu screen.

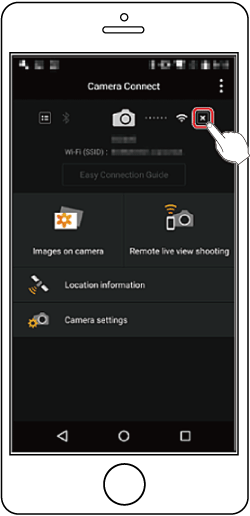
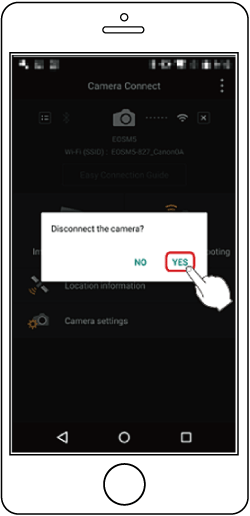
 ] icon displayed in the upper right of the screen, and then touch [YES].

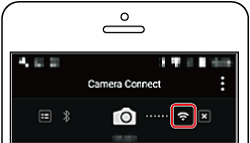

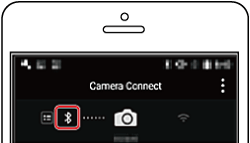
 ]: Connected; [
  ]: Disconnected
 - 4] tab > [Wireless settings] > [Bluetooth settings]. Choose [Address check] to check the camera’s Bluetooth address.
 1. Install Camera Connect.
 2. Access the Wi-Fi menu.
 ].
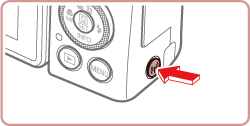
].
 ][
][  ] buttons or turn the [
  ] dial to choose [OK], and then press the [
  ] button.

 3. Choose [
  ].
]. ][
][  ] buttons or turn the [
  ] dial to choose [
  ], and then press the [
  ] button.
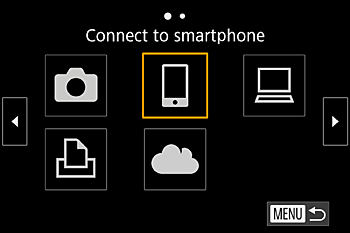
 ][
][  ] buttons to choose the device and then pressing the [
  ] button. To add a new device, display the device selection screen by pressing the [
  ][
][  ] buttons, and then configure the setting.
 - 4] tab > [Wireless settings] > [Wi-Fi Settings] > [Target History] > [Off].
 4.Choose [Add a Device].
 ][
][  ] buttons or turn the [
  ] dial to choose [Add a Device], and then press the [
  ] button.
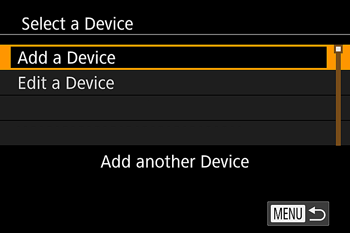
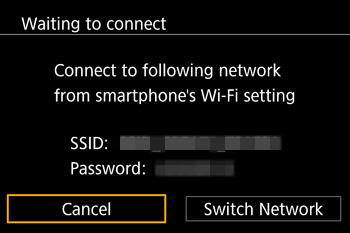
 - 4] > [Wireless settings] > [Wi-Fi Settings] > [Password] > [Off]. Password is no longer displayed on the SSID screen (in step 4).
 5.Connect the smartphone to the network.
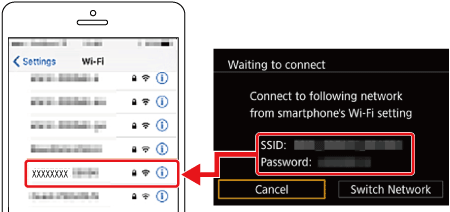
 6. Start Camera Connect.
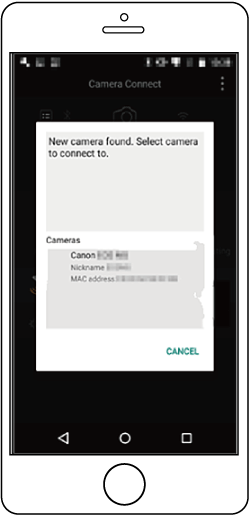
 7.Choose the camera to connect to.
 8.Adjust the privacy setting.
 ][
][  ] buttons or turn the [
  ] dial to choose [Yes], and then press the [
  ] button.

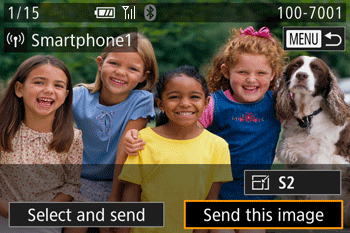
 9. Send an image.
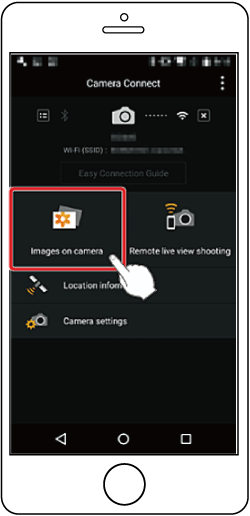

 , and then touch [
  ] on the bottom right of the screen
 . The selected images will be saved to the smartphone.
  ] icon in the upper right of the screen, and then touch [
  ] on the bottom right to save them on your smartphone.

 ] appearing in the upper right of the screen, and then touch [
  ] in the upper left of the screen to return to the menu screen.


 ] icon displayed in the upper right of the screen, and then touch [YES].


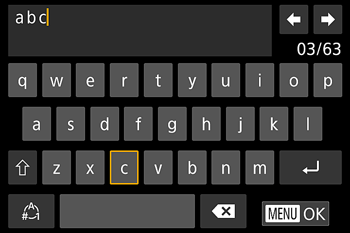
| Entering Characters | Touch the characters to enter them. |
| Moving the Cursor | Touch 
 . . |
| Entering Line Breaks* | Touch  . . |
| Switching Input Modes | To switch to numbers or symbols, touch  . .Touch  to enter capital letters. to enter capital letters.● Available input modes vary depending on the function you are using. |
| Deleting Characters | Touch  to delete the previous character. to delete the previous character. |
| Confirming Input and Returning to the Previous Screen | Press the  button. button. |
*For some functions,  is not displayed and cannot be used. is not displayed and cannot be used. | |