12-Oct-2016
8203246200
 >.
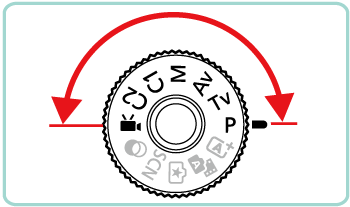
>.
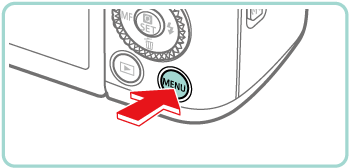
 ], [
], [  ] buttons or turn the [
  ] dial to select the [
  - 1] tab.
 ], [
], [  ] buttons or turn the [
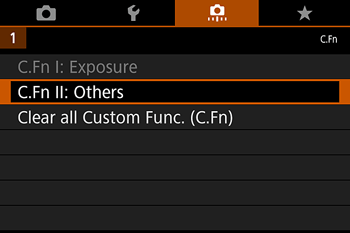
  ] dial to select [C.Fn III: Others] and then press the [
  ] button.
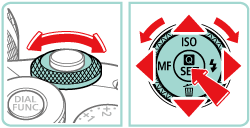
 ], [
], [  ] buttons or turn the [
  ] dial or [
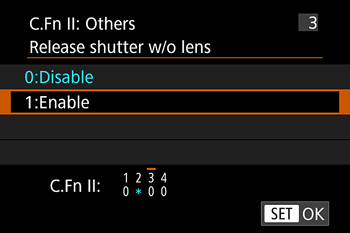
  ] dial to select [3], and then press the [
  ] button.
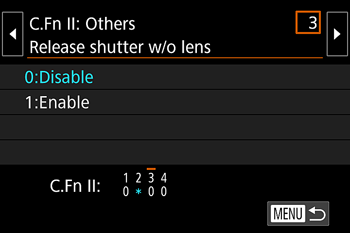
 ], [
], [  ] buttons or turn the [
  ] dial to choose [1:Enable], and then press the [
  ] button.