24-Feb-2016
8202872500
 ] mode.
 : Custom]*, [
  : Manual], [
  : Aperture value], [
  : Time value], [
  : Program AE], [
  : Manual Movie].
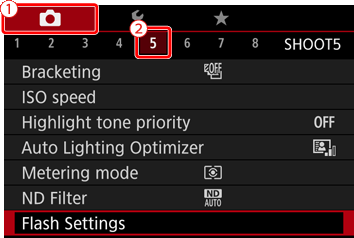
  ] button to display the menu screen, and then press the [
  ] , [
] , [  ] buttons to choose [
  ].
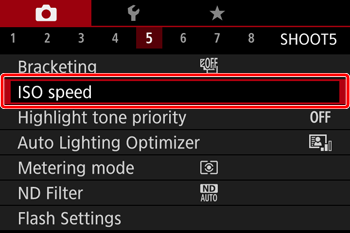
].

 ] , [
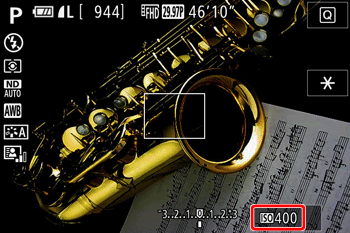
] , [  ] buttons to select the desired ISO speed, and then press the [
  ] button.


| Shooting Environment | ISO Speed Setting |
| Automatically adjusts the ISO speed to suit the shooting mode and conditions. | AUTO |
| For shooting outdoors in fair weather. | 125 / 160 / 200 |
| For shooting in cloudy conditions, or at twilight. | 250 / 320 / 400 / 500 / 640 / 800 |
| For shooting night scenes, or in dark rooms. | 1000 / 1250 / 1600 / 2000 / 2500 / 3200 / 4000 / 5000 / 6400 / 8000 / 10000 / 12800 |
 [
[  : ISO Speed ]
  [ISO Speed].
 ] tab from the menu screen.
 : Move the zoom lever to choose the [
  ] tab.
 : Press the [
  ] , [
] , [  ] buttons to choose [
  ].
].


 ] , [
] , [  ] buttons to choose [ ISO Speed ], and then press the [
  ] button.

 ] , [
] , [  ] buttons to choose [ISO Auto Settings] from the next screen displayed, and then press the
  ] button.
 ] , [
] , [  ] buttons to choose [Max ISO Speed], and then press the [
  ] button.
 ] , [
] , [  ] buttons to choose the maximum ISO speed value, and then press the [
  ] button.

 ] button.