01-May-2017
8202716500
 icon, and camera setting procedures are indicated by the
  icon.
icon. ] high, [
  ] medium, [
  ] low, [
  ] weak
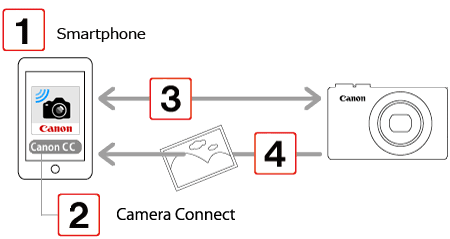
 Step 1: Confirming the iOS version
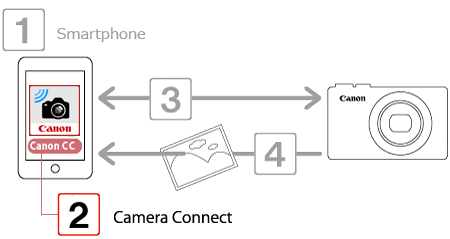
  Step 2: Installing Camera Connect on the smartphone and setting Wi-Fi to On.
 Step 3: Connecting the camera to the smartphone
 Step 4: Sending images to the smartphone.
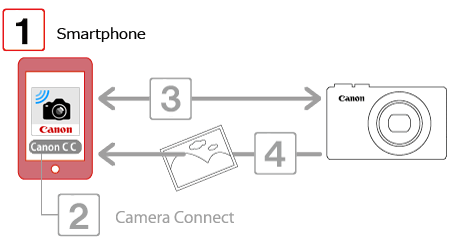
 1. Check the smartphone’s specifications.
 [General]
  [About].
 1. Touch the [App Store] application on your smartphone to access the App Store.
 2. Tap the search icon on the bottom of the screen.
 3.
3.  Enter [Camera Connect] in the search field, and then
  tap [Search].
 4. Choose [Camera Connect] from the displayed search results, and install it on the smartphone.
 5. Touch [Settings].
 6. Confirm the smartphone’s settings.
 : Make sure that [Airplane mode] is not set.
 : Touch [Wi-Fi].
 : Set the [Wi-Fi] switch to [ON].
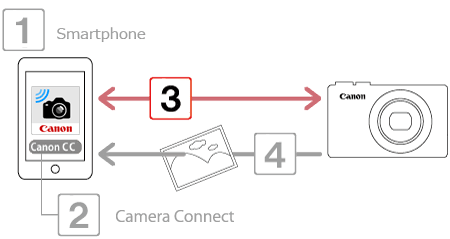
 > button and connecting.
 ] Pressing the Mobile Device Connect button to connect with the smartphone, and saving images from the camera to the smartphone.
 > button to connect the devices. This simplifies sending images to a smartphone.
 ] Pressing the Wi-Fi button to connect with the smartphone, and saving images from the camera to the smartphone.
 Pressing the Mobile Device Connect button to connect with the smartphone, and saving images from the camera to the smartphone.
 A-1. Press the camera’s [ Mobile device connect ] (
 ) button.
  > button.)
 ><
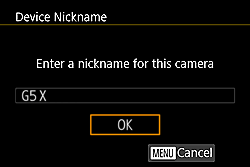
>< > buttons to choose [OK], and then press the <
 > button. (The camera model name (G5 X) is set as the nickname by default.)
  ><
>< > buttons to choose the [Nickname] field, press the <
 > button to display the keyboard, and then enter the desired nickname. After you have finished entering the nickname, press the <MENU> button to return to the registration screen, press the <
 > button, choose [OK], and then press the <
 > button.
 A-2. When the following screen is displayed, press the <
 ><
>< > buttons to choose [
  ], and then press the <
 > button.

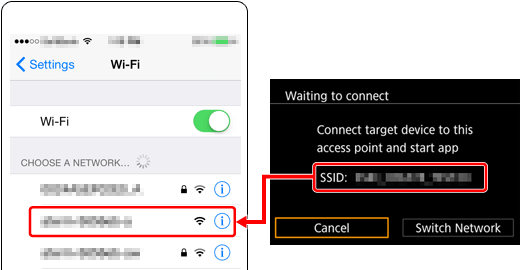
 A-3. The camera’s SSID is displayed on the screen.
 A-4. Choose the SSID (network name) displayed on the camera’s screen from the list of access points displayed on the smartphone.
 For better security, you can display a password on the screen by accessing MENU and choosing [
  ] tab > [Wi-Fi Settings] > [Password] > [On]. In this case, enter the password displayed on the camera in the password field on the smartphone when it is displayed.
 A-5. Tap the [Canon Connect] (
 ) application icon on the smartphone to start [Camera Connect].
 A-6. Press the <
 ><
>< > buttons to choose the smartphone you want to connect with, and then press the <
 > button.
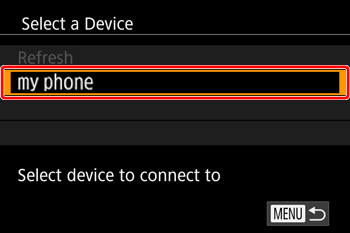
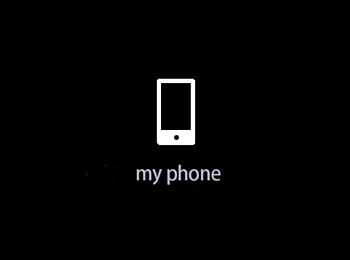
 A-7. After a connection is established with the smartphone, the smartphone’s name is displayed on the camera. (This screen will close in about one minute.)
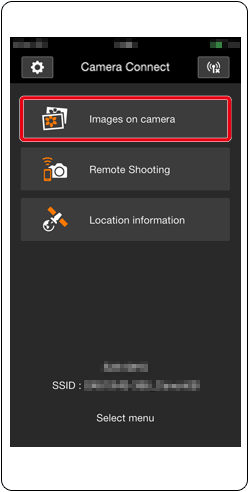
 A-8. Touch [Images on camera ] in Camera Connect.
 > (Mobile device connection) button, you can simply press the <
 > (Mobile device connection) button after that to connect again for viewing and saving camera images on connected devices.
 > (Mobile device connection) button.
  > button, even if the camera has been turned off.
 ><
>< > buttons to choose the
  [Mobile Device Connect Button] on the [
  ] tab, and then press the <
 > button. Press the <
 ><
>< > buttonsto choose
  [OK] on the confirmation screen, and then press the <
 > button to complete the process.
 > button, clear the one currently registered first.
 Pressing the Wi-Fi button to connect with the smartphone, and saving images from the camera to the smartphone.
 B-1. Press the <Playback> (
 ) button to turn the camera on.

 B-2. Press the <
  > button

 ><
>< > buttons to choose [OK], and then press the [
  ] button. (The camera model name (G5 X) is set as the nickname by default.)
  ><
>< > buttons to choose the [Nickname] field, press the <
 > button to display the keyboard, and then enter the desired nickname. After you have finished entering the nickname, press the <MENU> button to return to the registration screen, press the <
 > button, choose [OK], and then press the <
 > button.
 B-3. When the following screen is displayed, press the <
 ><
>< ><
>< ><
>< > buttons to choose [
  ], and then press the <
 > button.

 B-4. Press the <
 ><
>< > buttons to choose [Add a device], and then press the <
 > button.
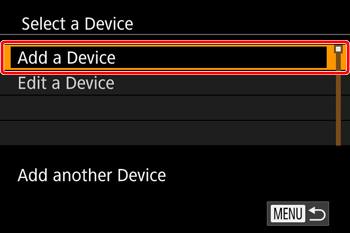
 B-5. The camera’s SSID is displayed on the screen.
 B-6. Choose the SSID (network name) displayed on the camera’s screen from the list of access points displayed on the smartphone.
 For better security, you can display a password on the screen by accessing MENU and choosing [
  ] tab > [Wi-Fi Settings] > [Password] > [On]. In this case, enter the password displayed on the camera in the password field on the smartphone when it is displayed.
 B-7. Tap the [Canon Connect] (
  ) application icon on the smartphone to start [Camera Connect].
 B-8. Press the <
 ><
>< > buttons to choose the smartphone’s nickname, and then press the <
 > button.
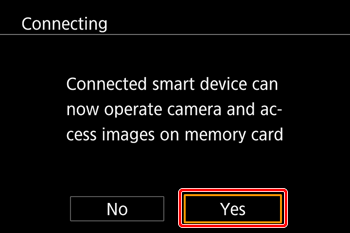
 B-9. When connecting to a smartphone for the first time, the following screen will be displayed on the camera. In this case, press the <
  ><
>< > buttons to choose [Yes], and then press the <
  > button.
 B-10. The following screen appears.
 B-11. Once you have connected to the smartphone, a screen like the one below will appear.
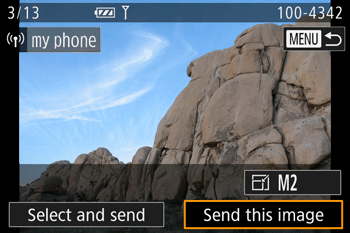
 > button. The recent target device is listed first, so you can easily connect again by pressing the <
 ><
>< > buttons to select it, and then press the <
 > button. To add a new device, press the <
 ><
>< > buttons to display the device selection screen, and then configure the setting. If you prefer not to display recent target devices, chose the [
  ] tab from the menu screen, choose [Wi-Fi Settings] > [Target History] > [Off].
 B-12. Touch [Images on camera ] in Camera Connect.

 1. Use the smartphone to import images from the camera to the smartphone.
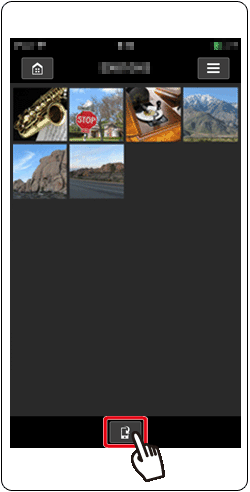
 2. After the screen refreshes,
  choose the desired images, and then
  touch [Save] on the bottom right of the screen. The selected images will be saved to the smartphone.
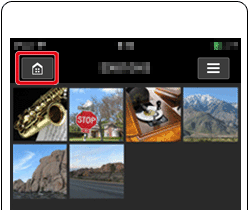
 3. After the images have been saved, touch the [Home] button to return to the menu screen.
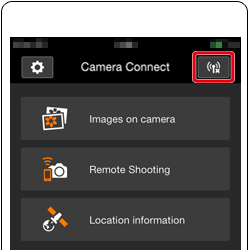
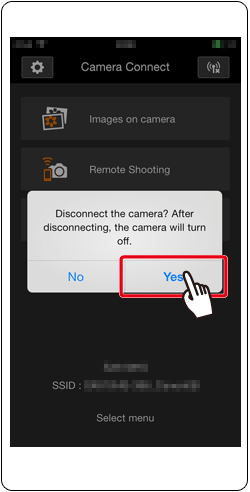
 4. To end the connection, touch the [
  ] icon displayed in the upper right of the screen, and then touch [Yes].