Solution
Back up (copy) the data on Connect Station, and restore the backup data to Connect Station. To perform the backup- and restore-related operations, use the [

] tab in [Preferences].
IMPORTANT
- Use a self-powered external hard disk with a capacity from 1 to 2 TB.
- An external hard disk for backup cannot be used for copying images.
- Using new external hard disk is recommended for backup.
- The backup formats the external hard disk, replacing its content with the data of Connect Station. Do not use an external hard disk storing any data you do not want to delete.
- After the backup, the external hard disk may not be recognized even when it is connected to a computer.
- Do not add data to or delete data from the data backed up on an external hard disk, using a computer etc. The data may become impossible to be used for restoring.
- The data backed up on an external hard disk cannot be displayed on a TV or computer.
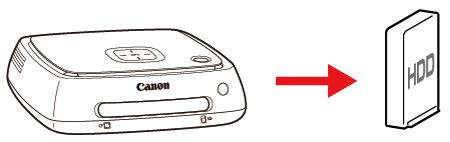
Back up the data on Connect Station to an external hard disk connected to the USB terminal. If the data on Connect Station is corrupted, you cannot view images; backing up the data on a regular basis is recommended.
1. Turn the unit on and confirm that the power lamp is illuminated in green (

).
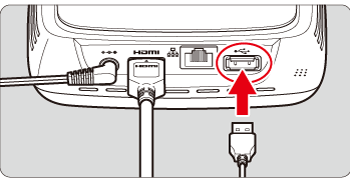
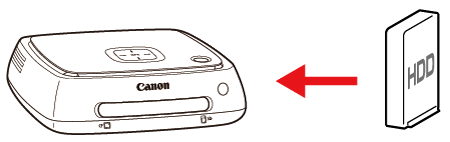
2. Connect a commercially available external hard drive to USB port on the Connect Station.
If the external hard drive has a power switch or separate power supply, please take the appropriate steps to turn the power on.
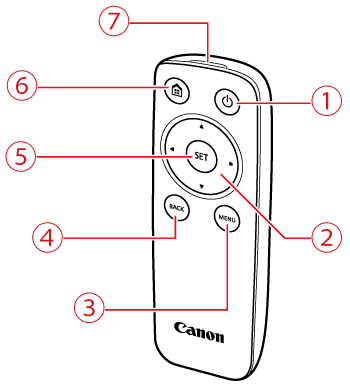
3. On the home screen, press the [

], [

] keys on the remote control to select [Preferences], then press [SET].
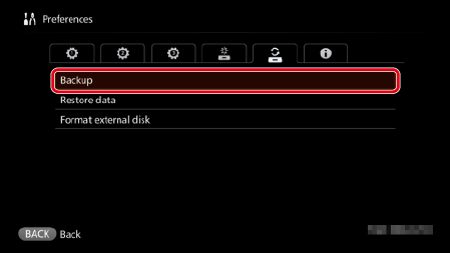
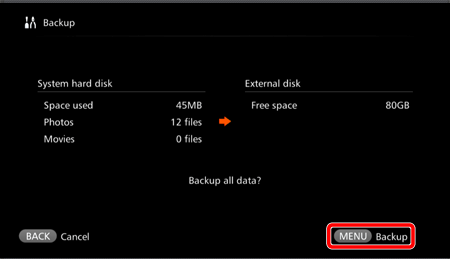
4. Select [Backup] from the [
] tab, then press [SET], or [

].
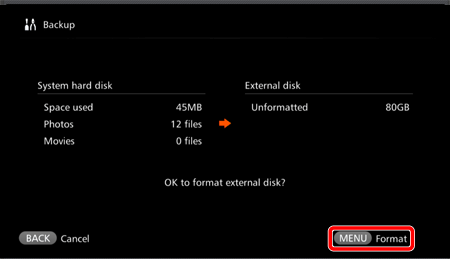
5. When you back up data to an external hard disk that is connected for the first time, a screen for initializing the external hard disk appears.
NOTE
Press the [MENU] button to begin formatting. When making subsequent back-ups, begin the procedure from step 9.
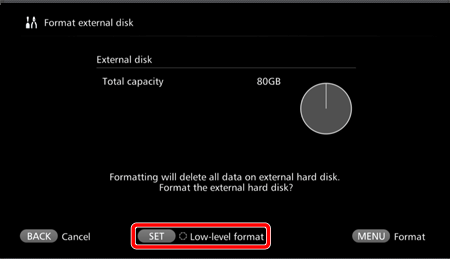
6. Press the [MENU] button.
If you have selected low-level formatting, press [SET].
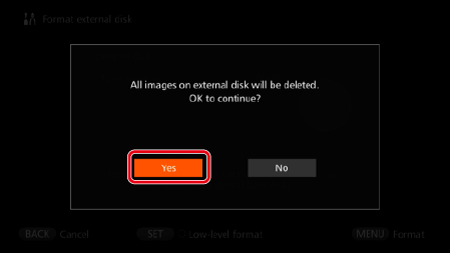
7. Press the [

], [
] buttons to choose [Yes], then press [SET] to begin low-level formatting.
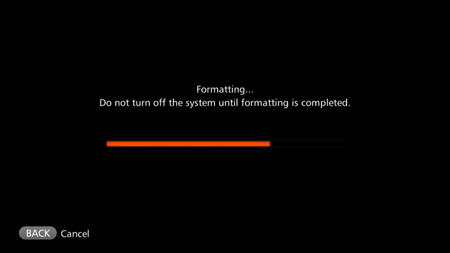
8. The following screen appears.
9. After formatting has been completed, the following screen appears. Press the [MENU] button.
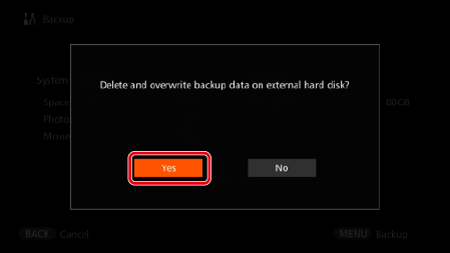
10. Press the [
], [
] keys to choose [Yes], then press [SET]. Back-up begins.
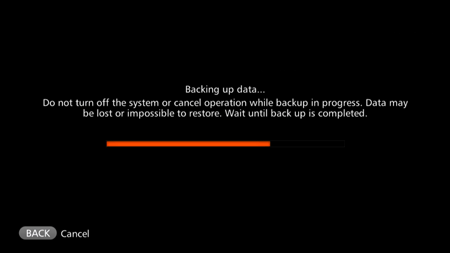
11. The following screen appears.
12. After the back-up has been completed., the following screen appears.
If Connect Station malfunctions or data is lost, you can restore the backup data. Also, you can restore Connect Station to the latest state of back up, in case you accidentally delete the images on Connect Station.
1. Turn the unit on and confirm that the power lamp is illuminated in green (
).
2. Connect a commercially available external hard drive to USB port on the Connect Station.
If the external hard drive has a power switch or separate power supply, please take the appropriate steps to turn the power on.
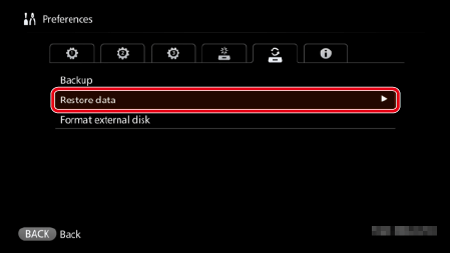
3. Select [Restore data] from the [
] tab, then press [SET] or [
].
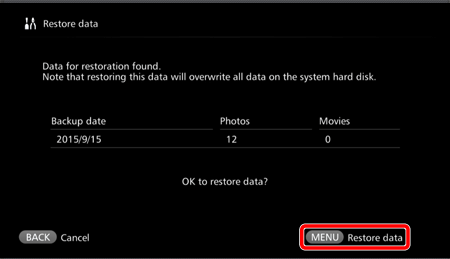
4. When the back-up data has been recovered, the following screen appears. Press the [MENU] button.
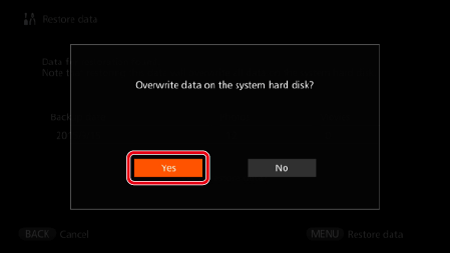
5. Press the [
], [
] buttons to select [Yes] and press [SET]. Data restoration begins
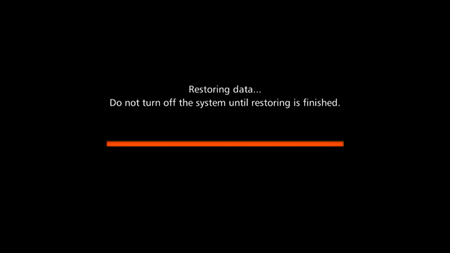
6. The following screen appears.
7. After data restoration is complete, the Home screen is displayed.
IMPORTANT
- When restoring data, execute data restoring before importing any images. All images imported before restoring will be deleted.