Using the Web Browser of a Smartphone or Tablet Device to Save and Playback Movies via Wi-Fi (Playback via Browser) (XC10)
22-Apr-2015
8202614200
Solution
You can use the Playback via Browser function to access the photos in the camcorder from the Web browser of a connected network device*. You can then play back your photos using the Web browser and even save local copies of them on the device. *
* Depending on the device, OS, browser and video quality, you may not be able to play back or save recordings. For details on supported operating systems and web browsers, please refer to Operating Systems and Operating Systems Verified for Use with Browser Remote and Playback via Browser (XC10).
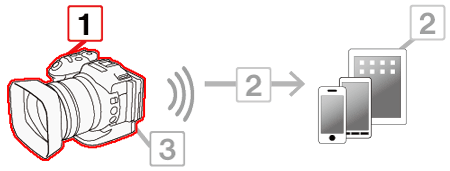
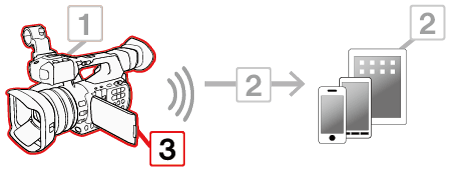
 Step 1: Performing Camcorder Settings
 Step 2: Connecting the Smartphone or Tablet Device and Playing back/Saving Recordings
 Step 3: Ending Playback via Browser Mode
NOTE
- The following example shows the procedure as performed in iOS 7 /Android 4.0.
- When using the camcorder's Wi-Fi functions, do not cover the Wi-Fi antenna with your hand or other object. Covering it may interfere with wireless signals.

 : Built-in Wi-Fi antenna
- Do not open the card slot cover while using network functions.
- The camcorder is Wi-Fi certified and can connect to a Wi-Fi network using an external access point (wireless router) or can itself serve as a Wi-Fi access point. The camcorder can connect to wireless routers (access points) compliant with the 802.11a/b/g/n protocol and are Wi-Fi certified (bear the logo shown on the right). The method that you use to connect to a Wi-Fi network will depend on the type and specifications of the access point and network you want to use.

IMPORTANT
- The instructions here assume you already have a correctly configured and working network, and network device(s). If necessary, refer to the documentation provided with the network devices you want to use.
- Configuring the network settings requires adequate knowledge about configuring and using wired (Ethernet) and/or wireless (Wi-Fi) networks. Canon cannot provide support regarding network configurations.
CAUTION
- Canon shall not be liable for any loss of data or damage resulting from incorrect network configuration or settings. Additionally, Canon shall not be liable for any loss or damage caused by the use of network functions.
- Note that using an unprotected Wi-Fi network can expose your data to monitoring by unauthorized third parties. Be aware of the risks involved.
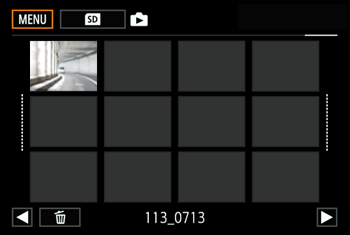
1. While the camcorder is turned off, hold the [  ] button (
 ) pressed down. The thumbnails of clips and photos you have recorded are shown in index screens sorted by the type of recording.
 ] button (
 ) pressed down. The thumbnails of clips and photos you have recorded are shown in index screens sorted by the type of recording.
2. Switch the index screen.
2-1. Touch [  ].
].
 ].
].
2-2. Touch [photo index screen].

- The photo index screen appears
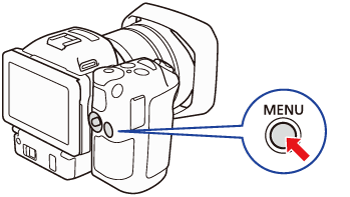
3. Press the [MENU] button.
4. Touch [  ] Wi-Fi Setup menu -> [Playback via Browser].
 ] Wi-Fi Setup menu -> [Playback via Browser].
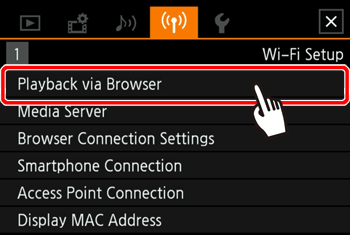
- The camcorder’s SSID (network name) and password will appear. The camcorder is ready to connect with the network device.


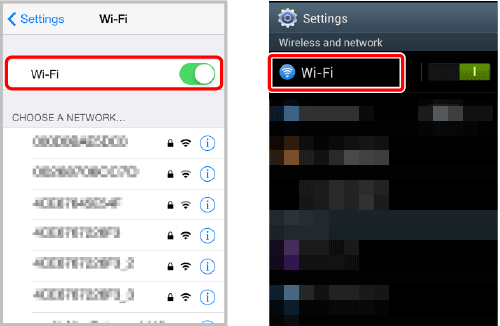
1. Activate Wi-Fi in the settings screen of the device.
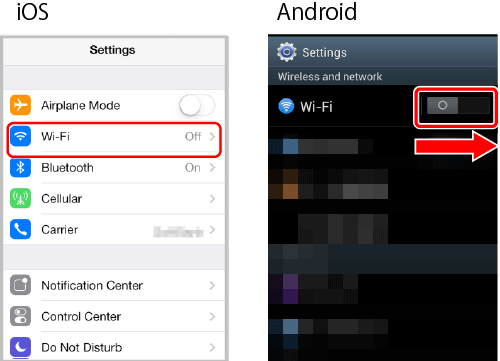
- Detected networks appear on the screen.
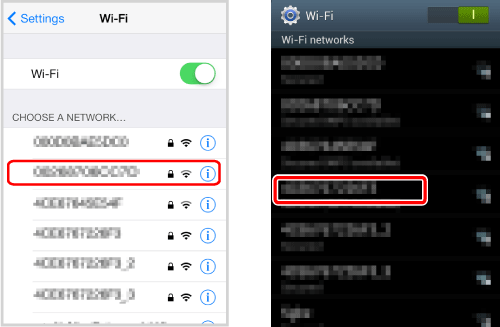
2. Touch the SSID that matches the one displayed on the camcorder’s screen in step 4 of 'Step 1: Performing Camcorder Settings' above.
3. Enter the password displayed on the camcorder’s screen from step 4 of 'Step 1: Performing Camcorder Settings' above to establish a connection.
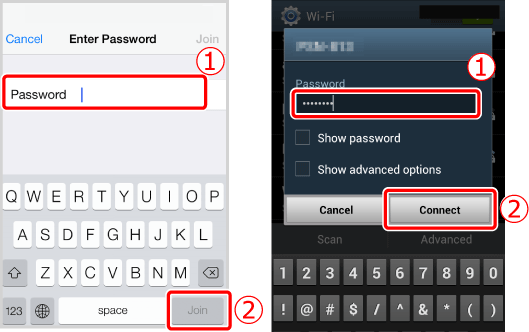
- The camcorder’s screen will change and show a URL.
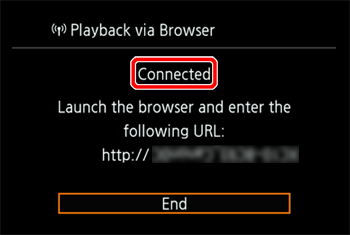
- Entering the password is necessary only the first time you use this function.
4. Start the Web browser on the network device.
5. Enter the URL displayed on the camcorder’s screen.

- The Playback via Browser screen will appear.
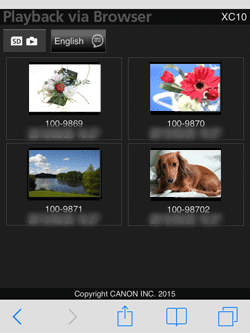
6. Play back your photos.
- Touch the desired photo from the list of photos.
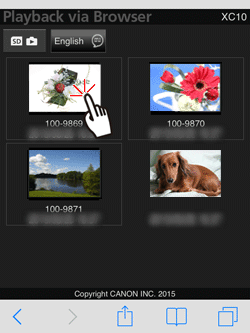
- The selected photo will be displayed.

7. Touch/click [  ] to return to the list of recordings.
 ] to return to the list of recordings.
6. Devices other than iOS devices: Touch/click [  ] to save a local copy of the photo on the device.
 ] to save a local copy of the photo on the device.
1. End Playback via Browser.
Touch [End] and then touch [OK] to end the wireless connection.

- Wi-Fi is a registered trademark of the Wi-Fi Alliance.
- Wi-Fi Certified, WPA, WPA2, and the Wi-Fi Certified logo are trademarks of the Wi-Fi Alliance.