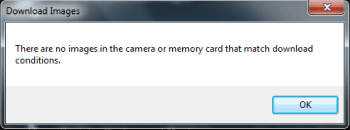
Images cannot be downloaded to the computer [There are no images in the camera or memory card that match download conditions]
28-Jan-2020
8202588800
Solution
Refer to the following explanation if images cannot be successfully downloaded to the computer using EOS Utility.
The following problem is a possible cause of the [There are no images in the camera or memory card that match download conditions] message being displayed after [Download images to computer] -> [Start automatic download] is clicked in EOS Utility.
- All of the images in the camera have previously been downloaded and there are no new images, or the [Settings for downloaded images] in the [Settings] of EOS Utility are set to [Images not yet downloaded].
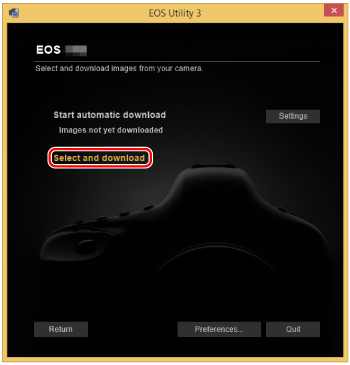
Clicking [Select and download] in EOS Utility will allow download of the same image.
NOTE
- When the same image is downloaded more than once, "_xxx" (underscore and 3 numbers) will be appended to the end of the file name.
- The procedure is shown in Windows 7 for the purposes of explanation.
REFERENCE
- If the [Settings for downloaded images] in the [Settings] of EOS Utility are set to [All images], clicking [Start automatic download] after reconnecting the camera will download all images. However, if images are not erased from the camera, the same images will be downloaded every time images are downloaded using EOS utility.
- If the [Settings for downloaded images] in the [Settings] of EOS Utility are set to [Images not yet downloaded], previously downloaded images will not be downloaded again.
- For Windows users, it will be necessary to log in to an account with administrator privileges.
The procedure for downloading selected images to your computer is explained below.
1. Connect your camera and computer using an interface cable.
2. Set the camera’s power switch to [ON].
3. EOS Utility will start.
IMPORTANT
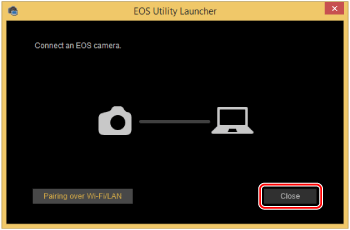
If you start EOS Utility before connecting the camera to the computer, the [EOS Utility Launcher] screen (shown in the example image below) will be displayed. In this case, please click [Close], and connect the camera to the computer after the window has closed.
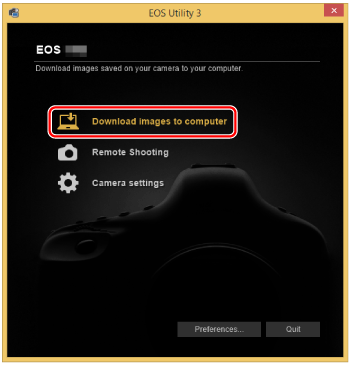
4. When the window shown below is displayed, click [Download images to computer].
5. Click [Select and download] to download the desired images to the computer.
6. The viewer screen will appear, and all the images currently in the memory card will be displayed.
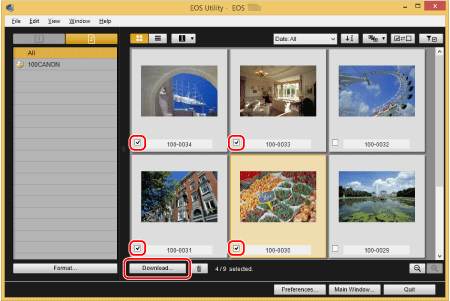
Select the images you want to import by appending them with a checkmark, and then click [Download].
(In the example below, four images have been selected.)
NOTE
- An [
 ] icon will be displayed in the upper left of movie files.
 - You can click [
 ] to change the thumbnail order.
 - You can click [
 ] to sort the images with various conditions and choose images you want to download.
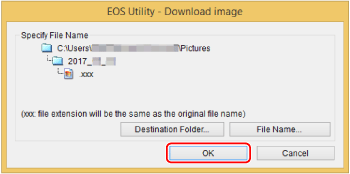
7. The download image dialog box appears. If you want to change the destination, click [Destination Folder] and make the settings in the dialog box displayed.
NOTE
By default, the downloaded images are sorted into folders by their shooting date, and are saved in the [Pictures] folder on the computer.
8. Click [OK] on the screen shown in the image above to start downloading the images.
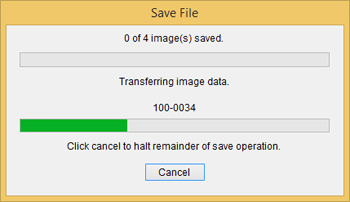
When all the selected images are downloaded, Digital Photo Professional starts automatically and the images that have been downloaded will be displayed.
This concludes the procedure for downloading images.