06-Feb-2015
8202412300
 (Quick Setting) menu.
 ] mode.
 ) is displayed, press the [
  ] button to change the screen display (
 ,
,  ,
,  ) as shown below.

 : Custom display 1
 : Custom Display 2
 : No information display
 : Shooting functions screen
 ] button.
 ], [
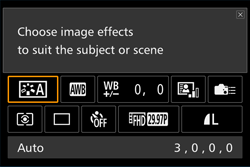
], [  ] buttons to choose a menu item (
 ).
). ) are shown at the bottom of the screen.
 ], [
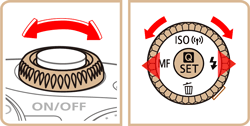
], [  ] buttons or turn the [
  ] dial or [
  ] dial to select an option.

 ] icon can be configured by pressing the [
  ] button.


 ] button.
 ] button in step 3 is displayed again, showing the option you configured.
 ] button on the upper right of the screen to open the Quick Setting menu.

 ] within a menu option, or touch the currently-selected option, to go back to the previous screen.
 ] icon by touching [
  ].
].
 ] button repeatedly to display the shooting function menu (
 ).
).

 ], [
], [  ], [
], [  ], [
], [  ] buttons to choose a function and display a description.
 ] dial or [
  ] dial to access functions.
 ] button. Options labeled with a [
  ] icon in the second screen can be configured by pressing the [
  ] button. Press the [
  ] button to return to the shooting functions screen.
 ] to return to the previous screen.
 ] on the upper right of the function description to close the description display.