17-Mar-2014
8202063500
 > button to turn the camera on.
 > button.
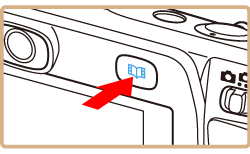
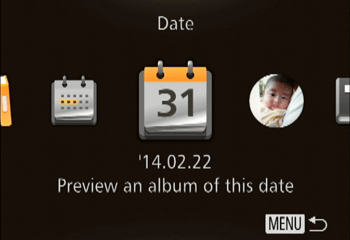
 ><
>< > buttons to choose [Date], [Person’s name], or [Event] as the album theme, and then press the <
  > button.
| Theme | Type of Images Selected Automatically by the Camera |
|---|---|
| Date | Creates an album of images shot on the same day. |
| Person’s name | Subjects in the current image before you access the home screen serve as the basis for others selected, which are shot in the same month. Can be used to create monthly albums of people, such as albums of children as they grow up. |
| Event | Creates albums of event shots seven days older or newer than the image selected before you access the home screen. A good choice for albums of vacations, parties, or other events. |
| Custom | Images based on your specified image, shooting date, or people. |
 ><
>< > buttons to choose [Save Album as Movie], and then press the <
 > button.
 > button to begin playback.
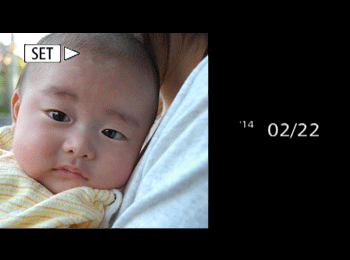
 > button. Press the <
 ><
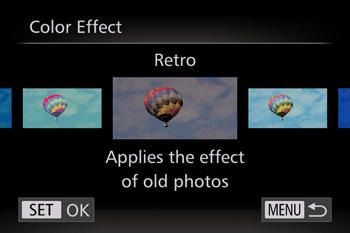
>< > buttons to choose a color effect, and then press the <
 > button to preview the album with the effect.
 > button, choosing a listed album, and pressing the <
 > button again.
 > button.
 > button to turn the camera on.
 > button.

 ><
>< > buttons to choose [Custom] as the album theme, and then press the <
 > button.
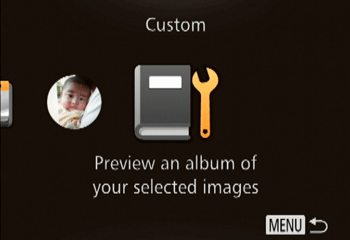
 ><
>< > buttons to choose [Image Selection], [Date Selection], or [Person Selection], and then press the <
 > button.
 > button.
 ].
]. > button.
 ><
>< > buttons to choose a color effect, and then press the <
  > button.
 ><
>< > buttons to choose [Save Album as Movie], and then press the <
  > button.
 > to begin playback.