17-Mar-2014
8202057800
 > button.
 ) tab, press the <
 ><
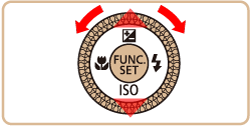
>< > buttons or turn the <
 > dial to choose [Protect], and then press the <
 > button.
 ><
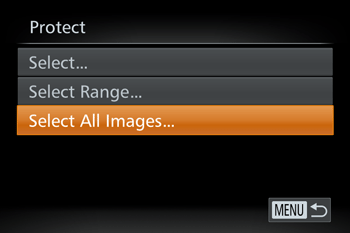
>< > buttons or turn the <
 > dial to choose [Select All Images], and then press the <
 > button.
 ><
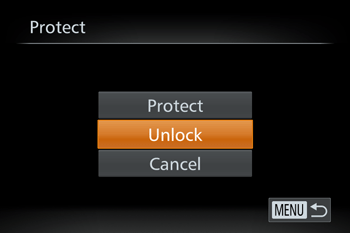
>< > buttons or turn the <
 > dial to choose [Unlock], and then press the <
 > button.
 > button.
 ) tab, press the <
 ><
>< > buttons or turn the <
 > dial to choose [Protect], and then press the <
 > button.
 ><
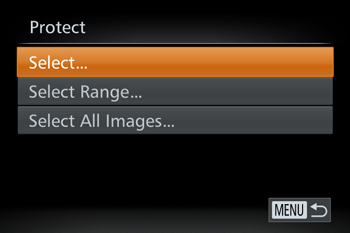
>< > buttons or turn the <
 > dial to choose [Select], and then press the <
 > button.
 ><
>< > buttons or turn the <
 > dial to choose the protected image you want to unlock. (The [
  ] icon appears on protected images.)
 > button.
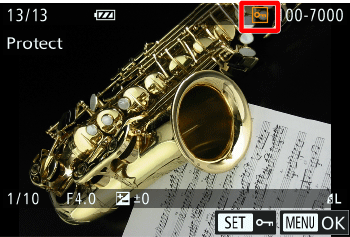

 ] icon will disappear and the image will be unlocked.
 > button.
 ><
>< > buttons or turn the <
 > dial to select the image you want to erase.
 > button.
 ><
>< > buttons or turn the <
 > dial to choose [Erase], and then press the <
 > button.
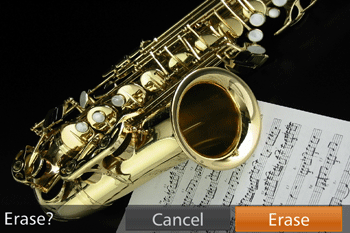
 ><
>< > buttons or turn the <
 > dial to choose [Cancel], and then press the <
 > button.
 > button while [
  ] images are displayed will give you the option of choosing [Erase
  ], [Erase JPEG], or [Erase
  + JPEG] for deletion.