04-Mar-2014
8202033000
 > button.
 ) tab, press the <
 ><
>< > buttons to choose [Protect], and then press the <
 > button.
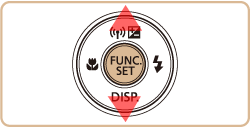
 ><
>< > buttons to choose [Select All Images], and then press the <
 > button.
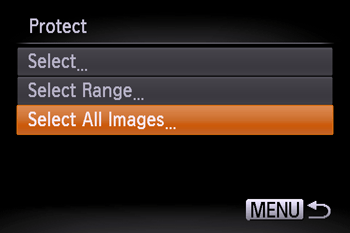
 ><
>< > buttons to choose [Unlock], and then press the <
 > button.
 > button.
 ><
>< > buttons to choose the protected image you want to unlock. (The [
  ] icon appears on protected images.)
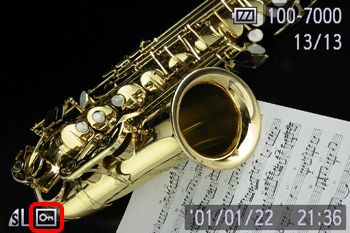
 > button.
 ><
>< > buttons to choose [
  ], and then press the <
 > button.
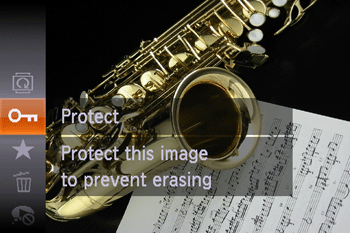
 ] icon wil disappear and the image will be unlocked.
 > button.
 ><
>< > buttons to select the image you want to erase.
 > button.
 ><
>< > buttons, choose [
  ], and then press the <
 > button.
 ><
>< > buttons to choose [Erase], and then press the <
 > button.

 ><
>< > buttons to choose [Cancel], and then press the <
 > button.