04-Feb-2014
8202020400
 > mode, you can easily change the depth of field, drive/self-timer, and flash firing. You can also choose the ambience you want to convey in your images. The default settings are the same as the <
  > mode.
 >.
>.
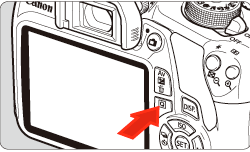
 > button to display the Quick Control screen.
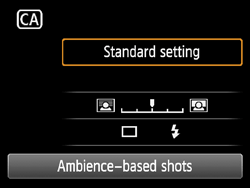
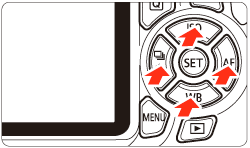
 > key to select a function.

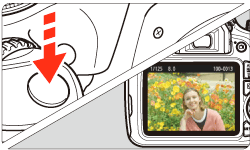
 focus confirmation light [
  ] in the viewfinder will light up.
 > button enables you to set the following:
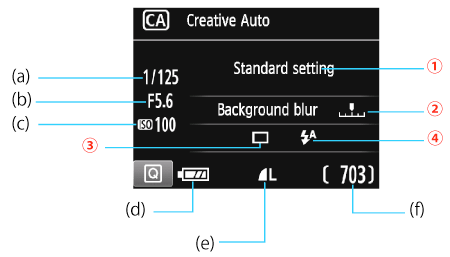
 Ambience-based shots
 > keys or turn the <
 > dial to select the desired ambience. You can also select it from a list by pressing <SET>.
 Blurring/sharpening the background
 > key or turn the <
 > dial to select the desired ambience. Depending on the lens and shooting conditions, the background may not look so blurred. This function cannot be set (grayed out) while the built-in flash is raised in the <
 ><
>< > mode. If flash is used, this setting will not be applied.
 Drive/self-timer: Press <SET> and set it with the <
  > keys or the <
  > dial.
 ] Single shooting: Shoot one image at a time.
 ] Continuous shooting: While you hold down the shutter button completely, shots will be taken continuously. You can shoot up to approx. 3 shots per sec.
 ] Self-timer: 10sec./remote: The picture is taken 10 seconds after you press the shutter button. A remote controller can also be used.
 ] Self-timer: Continuous: Press the <
 > key to set the number of multiple shots (2 to 10) to be taken with the self-timer. 10 seconds after you press the shutter button, the set number of multiple shots will be taken.
 Flash firing: Press <SET> and set it with the <
 > keys or the <
 > dial.
 ] Auto flash: The flash fires automatically when necessary.
 ] Flash on: The flash fires at all times.
 ] Flash off : The flash is disabled.