Solution
You can easily set the camcorder to record half a second of video or a photo at fixed intervals from 5 seconds to 10 minutes. When recording video using interval recording, you can join all these short bits of video (interval scenes) into a single time-lapse scene that captures the passage of time.
Sound is not recorded in this special recording mode.
Activating Interval Recording
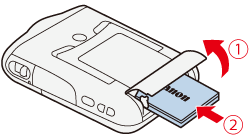
1. Insert a fully charged battery pack or use the optional CA-110/CA-110E Compact Power Adapter.
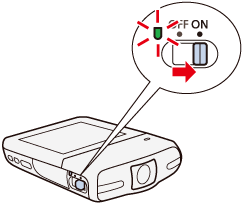
2. Set the power switch to ON to turn on the camcorder.
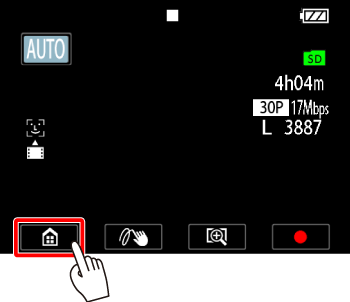
3. Touch [

].
4.

Drag your finger right/left across the screen to bring [Special Rec Modes] to the center, and then

touch the icon to open it.
5. Drag you finger up and down to bring [

] (Interval Recording) to the center, and then

touch [ OK ].
6. Touch [ OK ].
NOTE
When Interval recording is set, the remaining video recording time will automatically be reduced by about half.
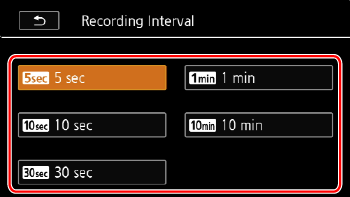
Setting the Recording Interval
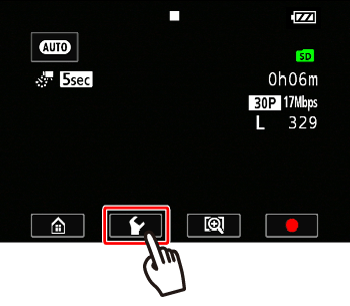
1. Touch [

].
2. Touch the desired interval.
3. Touch [

].
The maximum recording time in interval recording mode depends on the selected recording interval.
| Recording interval | Maximum recording time |
|---|
| 5 sec., 10 sec., 30 sec. | Approx. 3 hours |
| 1 min. | Approx. 6 hours |
| 10 min. | Approx. 60 hours |
Start Recording with Interval Recording.
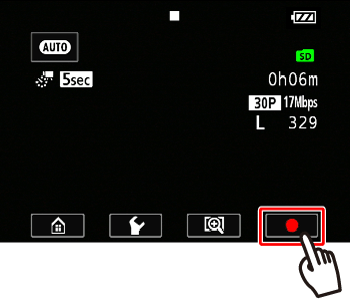
1. Record
- Movies: Touch [
 ] to record the first video.
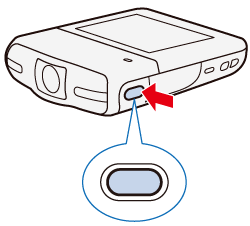
- Photos: Press the photo button, first halfway, then fully.
- The camcorder will continue recording interval scenes or photos at the set interval.
- The number of videos/photos recorded so far, and a countdown until the next recording is made will be displayed on the screen.
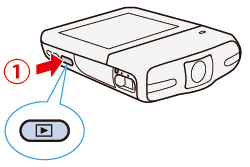
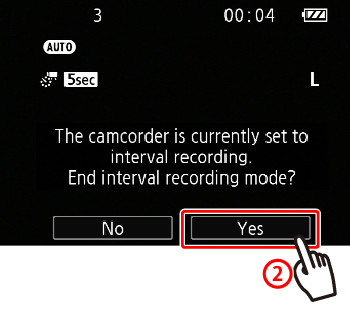
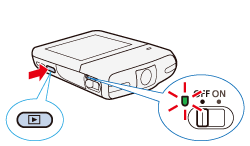
2. To end interval recording mode,

press the <

> (Playback) button, and then

touch [Yes].
Joining the Interval Scenes
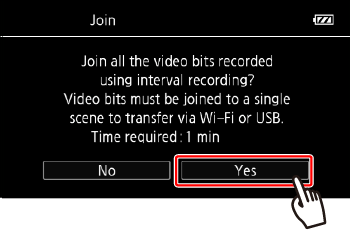
If you were recording video, a screen for joining the recorded interval scenes will be displayed.
1.Touch [Yes] to join the interval scenes.
- If you prefer to join the interval scenes later on, touch [No] instead. (The rest of the procedure is not necessary.)
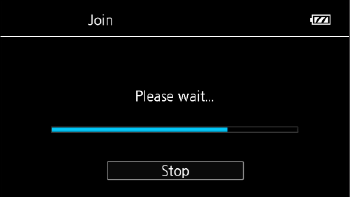
To interrupt the operation while it is in progress, touch [Stop].
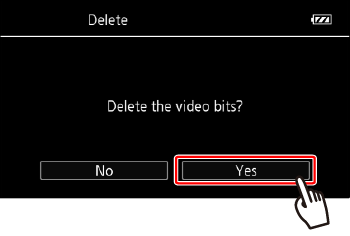
3. Touch [Yes] to delete the original interval scenes.
If you prefer to keep the original interval scenes even after they were successfully joined, touch [No] instead.
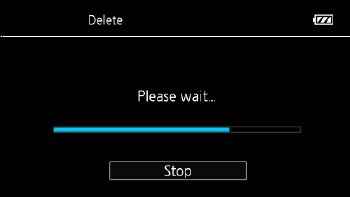
You can touch [Stop] to interrupt the operation while it is in progress.
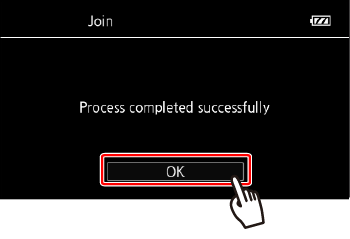
5. A new time-lapse scene, created from all the interval scenes, will be added to the [Playback] mode index screen.
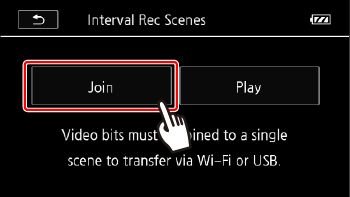
Joining Interval Scenes Later On (Movies)
Even if you did not join videos recorded using interval recording immediately after recording them, you can do so at a later date.
1. Press the <

> button to open the index screen.
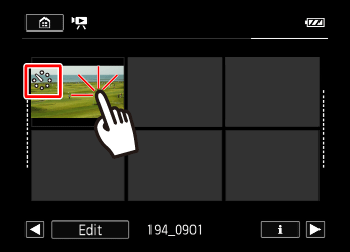
2. Touch an interval scene marked with the [

] icon.
4. Refer to the 'Joining the Interval Scenes' section above to complete the procedure.
NOTE
- Face detection and tracking, decoration, exposure adjustment and Wi-Fi functions cannot be used during interval recording. In [
 ] mode, the Smart AUTO function that automatically adjusts the brightness or color will be disabled as well.
- Depending on the memory card used, writing on the memory card may take longer, and the actual recording interval may be longer than the recording interval that was selected.
- The default recording interval is 5 seconds.
- When you select a recording interval of 30 seconds or longer, the camcorder will enter standby mode when it is not recording in order to save power. In standby mode the screen will turn off and the power indicator will light up in red.
 ].
].
 Drag your finger right/left across the screen to bring [Special Rec Modes] to the center, and then
  touch the icon to open it.
 ] (Interval Recording) to the center, and then
  touch [ OK ].

 ].
].
 ].
].
 ] to record the first video.
 press the <
 > (Playback) button, and then
  touch [Yes].


 > button to open the index screen.
 ] icon.
 ] mode, the Smart AUTO function that automatically adjusts the brightness or color will be disabled as well.