25-Feb-2014
8201382800
 ] (Auto), this setting cannot be made. Please make the setting in either [
  ] (Manual) or [
  ] (Cinema).
  ].
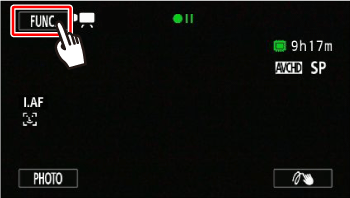
].
 Drag your finger up and down to display the rest of the panel
  and then touch [AGC Limit].
 ] to display the meter.
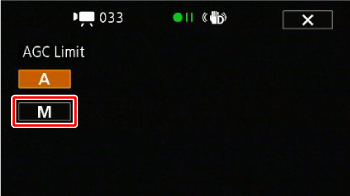
 ] or [
  ], or drag your finger along the dial to set the AGC limit.
 ] to remove the limit for the automatic gain control.
 ] to close the menu.
 ].
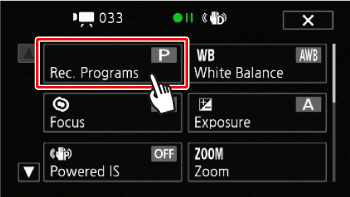
].
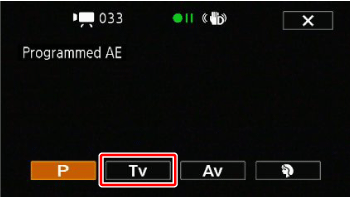
 ] or [
  ], or drag your finger along the dial.
 SCN:Portrait* ].
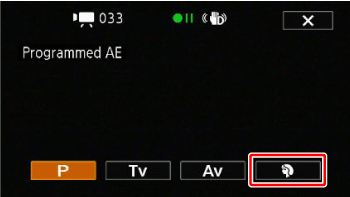
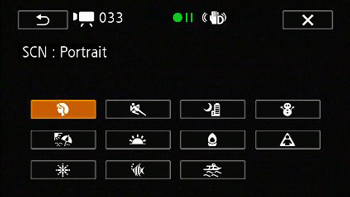
| Special Scene Recording Program | Contents |
 Portrait | The camcorder uses a large aperture, to achieve a sharp focus on the subject while blurring the background. |
 Sports | To record sports scenes such as tennis or golf. |
 Night Scene | To record nightscapes with lower noise. |
 Snow | To record in bright ski resorts without the subject being underexposed. |
 Beach | To record on a sunny beach without the subject being underexposed. |
 Sunset | To record sunsets in vibrant colors. |
 Low Light | To record in low-light situations. |
 Spotlight | To record spotlit scenes. |
 Fireworks | To record fireworks. |
 Underwater | To record underwater scenes in natural colors. |
 Surface | To record after getting out of the water, such as on a boat after diving. |
 SCN: Portrait]/[
  SCN: Sports]/[
  SCN: Snow]/[
  SCN: Beach]: The picture may not appear smooth during playback.
 SCN: Portrait]: The blur effect of the background increases the more you zoom in (T).
 SCN: Snow]/[
  SCN: Beach]: The subject may become overexposed
 SCN: Low Light]:
 SCN: Fireworks]:
 SCN: Underwater]/[
  SCN: Surface]:
 SCN: Underwater] recording program, a red frame will appear on the edge of the screen.
 SCN: Underwater] recording program is for making recordings underwater*. When using underwater lighting equipment or making recordings while on land, we recommend using the [
  SCN: Surface] recording program.
 SCN: Underwater] and [
  SCN: Surface] while the camcorder is in the waterproof case, turn on the camcorder while moving the zoom lever toward (T) or (W). Keep pushing the zoom lever until the
  or
or  icon appears on the screen.
 will appear on the screen when the camcorder’s temperature becomes too high. If this happens, turn off the camcorder, take it out of the waterproof case and keep it in a cool place until the temperature goes down. If the camcorder becomes too hot, it will turn off automatically.
 SCN: Underwater] recording program, the image on the LCD screen will appear redder than the actual subject. This will not affect the recording.