Installing PIXELA Transfer Utility
16-May-2012
8201046900
Solution
This section provides explanations about how to install PIXELA Transfer Utility.
1. Insert "PIXELA Transfer Utility" disc to the computer.
The installation screen will be displayed.
*Click [Continue] (Windows Vista) / [Yes] (Windows 7) if the [User Account Control] dialog box is displayed.
NOTE
If the installation screen is not displayed, open the disc drive window from the [My Computer] (Windows XP) / [Computer] (Windows Vista/Windows 7) in the [Start] menu, and double-click [setup.exe].
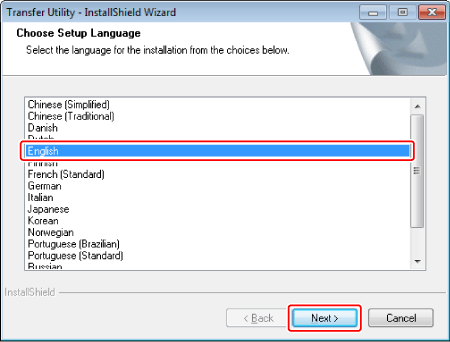
2. Select the language for the installation and click [Next].

3. Click [Next].
4. Read the license agreement and select [I accept the terms of the license agreement].
Click [Next].

5. Check the destination folder for the installation files and click [Next].
If you want to change the destination folder, click [Change...] and specify the destination.

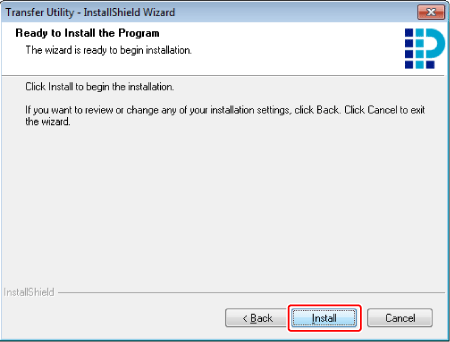
6. Click [ Install ] to begin the installation.

7. Once the installation is completed, click [ Finish ].
The installation of Transfer Utility is completed. The Software Guide is also installed and following shortcuts are placed on the Desktop.
- Transfer Utility (software)
- Transfer Utility Software Guide
- Transfer Utility Homepage
- PIXELA Product Registration