25-Aug-2010
8200880300
 ) mode will make it easier to focus on the subject.
  ) : 5 cm (2.0 in.) – infinity (W)* / 30 cm (12 in.) – infinity (T)**
  ) : 5 – 50 cm (W)*, 30 – 50 cm (T)** (2.0 in. – 1.6 ft. (W)*, 12 in. – 1.6 ft. (T)**)
 ) to the maximum wide angle side (Max. wide angle).
 ) to the maximum telephoto side (Max. telephoto).
 ).
). ), it is necessary to set the [Shooting Mode] to one of the following modes.
 ), [Manual] (
 ), [Aperture Priority] (
 ), [Shutter Speed Priority] (
 ), [Program] (
 )
)
 /
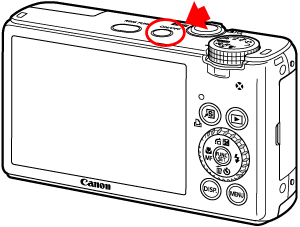
/  ) button.

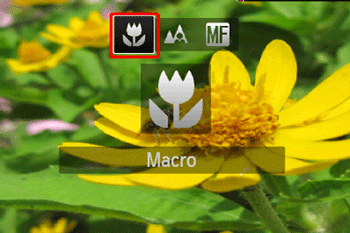
 ), then press the <FUNC./SET> (
 ) button.
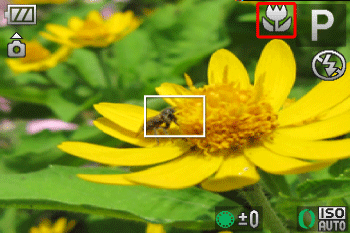
 ) is indicated on the LCD Monitor, the camera is in [Macro] (
 ) mode.