Solution
This section describes how to install the printer driver on your computer.
The printer driver is software that is required to connect the printer to a computer.
CAUTION
- The following instructions are intended for Windows Vista. The screen images and operations may differ slightly in Windows XP.
- When installing / uninstalling the software, please log on to the computer as an Administrator.
- Do not connect the printer to the computer until the installation of the printer driver is finished.
- If other USB devices (excluding USB mouse devices and USB keyboards) are connected to the computer simultaneously, the driver may not be installed correctly.
- Some of the images that appear on this page contain a specific camera model name, however the actual model name varies depending on the camera used.
- This Printing Guide uses the [SELPHY ES3] as an example for explanatory purposes. The [SELPHY ES30] also has the same operational features.
1. Quit any software that is running.
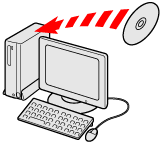
2. Place the [Compact Photo Printer Solution Disk] CD-ROM supplied with your printer into the computer.
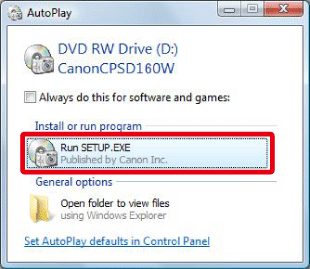
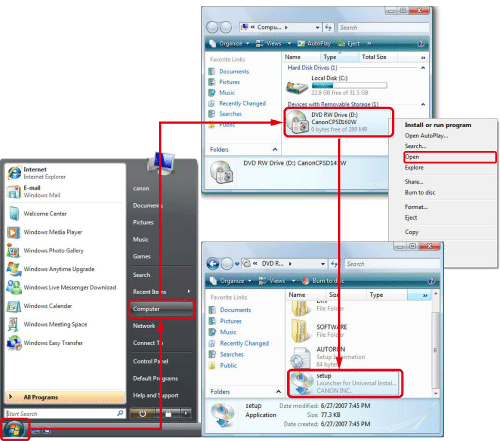
3. Click [Run SETUP.EXE] when the following window appears.
If the window above does not appear, click [Start] (

) > [Computer] or [My Computer] > [CanonCPSD160W] or [CanonCPSD170W] in this order, and double-click [setup].
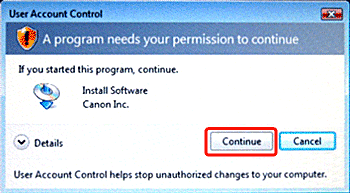
4. If the following window appears, click [Continue].
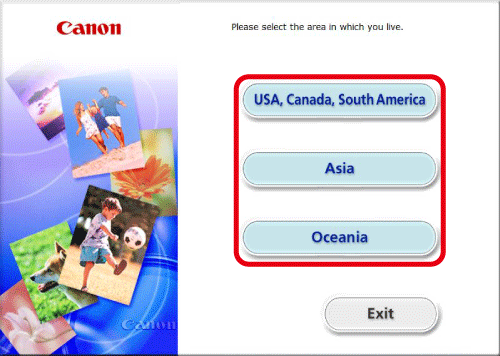
5. The following screen will appear. Select the area in which you live.
If [Asia] or [Oceania] is chosen, this setup procedure will proceed to Step 8.
6. The following screen will appear.

Select the country where you live.

Click [Next].
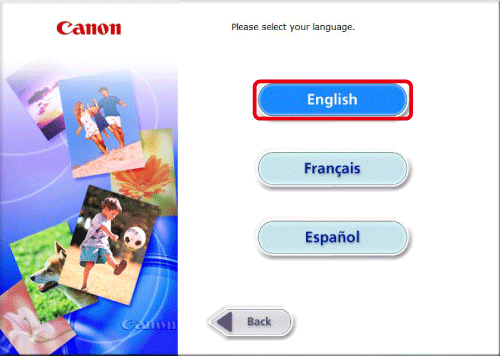
7. The following screen will appear. Click [English].
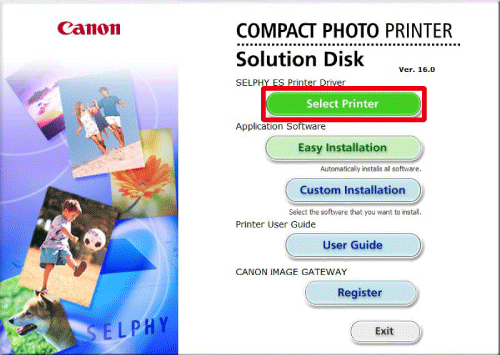
8. The following screen will appear. Click [Select Printer].
9. The following screen will appear. Click [SELPHY ES3] or [SELPHY ES30].
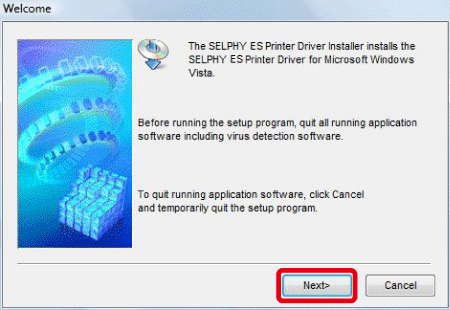
10. The following screen will appear. Click [Next].
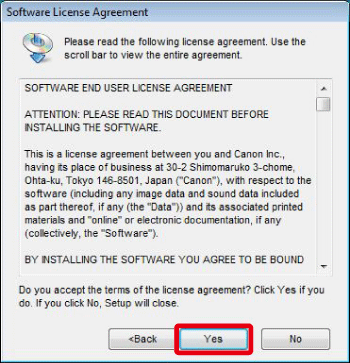
11. The following screen will appear. Click [Yes] after reading the content carefully.
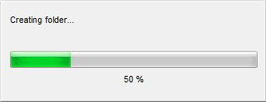
12. The installation of the software will start.
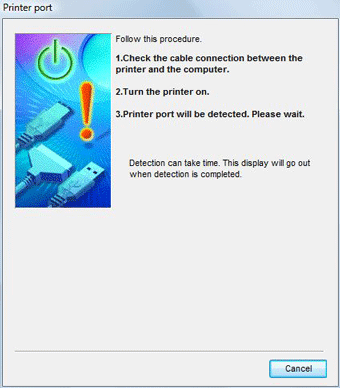
13. The following screen appears.
14. Connect the printer to the computer with a commercially available USB cable, and then turn on the printer.

PC's USB terminal

Commercially available USB cable

Printer's USB terminal

<ON> button
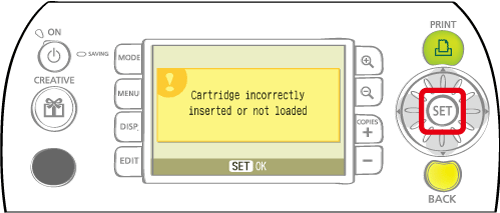
15. If the following message appears on the LCD monitor of the printer when it is connected to the computer, press the <SET> (

) button on the printer.
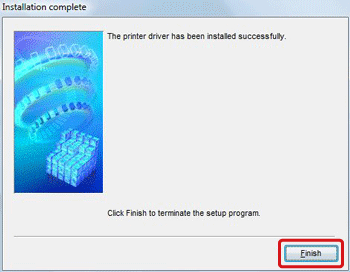
16. The following screen will appear. Click [Finish].
 ) > [Computer] or [My Computer] > [CanonCPSD160W] or [CanonCPSD170W] in this order, and double-click [setup].

 Select the country where you live.
 Click [Next].


 PC's USB terminal
 Commercially available USB cable
 Printer's USB terminal
 <ON> button
 ) button on the printer.