Solution
Checking the Inside of the Printer
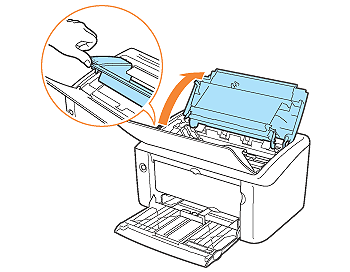
1. Open the top cover.
Place your finger in the groove on the top cover and open.
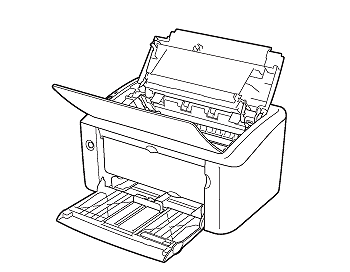
2. Remove the toner cartridge from the printer.
Immediately place the removed toner cartridge into the original protective bag or wrap it with a thick cloth.
3. Check the inside of the printer.
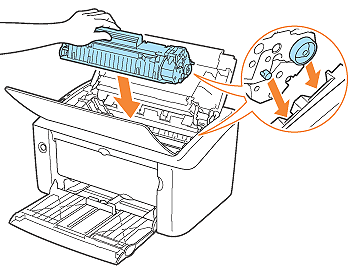
4. Hold the toner cartridge properly as shown in the figure.
5. Install the toner cartridge.
Push the toner cartridge into the printer firmly until it touches the back of the printer while aligning projections on both sides of the toner cartridge with the toner cartridge guides inside the printer.
Precautions on Checking the Inside of the Printer
IMPORTANT
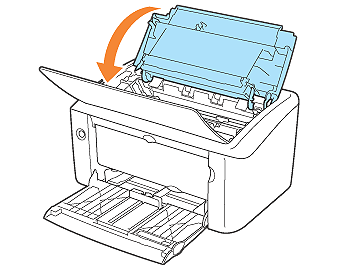
- If you cannot close the top cover, make sure that the toner cartridge is installed properly. If you try to close the top cover forcefully, this may result in damage to the printer.
- Do not leave the top cover open for a long time after installing the toner cartridge. This may result in deterioration in print quality.
NOTE


