Connecting to a Printer and Printing Via a Wireless LAN (Wi-Fi) (EOS M50)
Solution
Connect the camera to a printer via Wi-Fi to print as follows.
These steps show how to use the camera as an access point, but you can also use an existing access point.
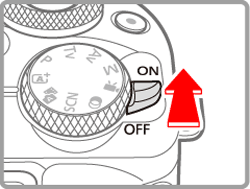
1. Turn the camera on.
2. Press the  button.
 button.
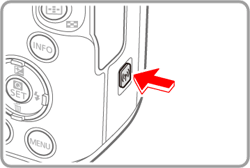
- If the wireless settings screen is not displayed initially when you press the
 button, press the
  button again.
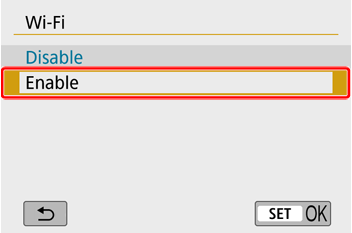
3. Choose [Enable] and press the  button.
 button.
4. A message about nicknames is displayed.
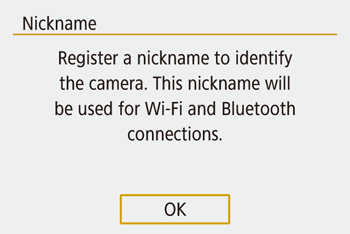
- Press the
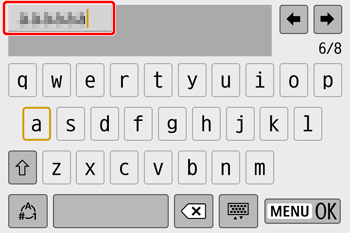
 button and check the nickname (camera name).
5. After checking, return to the function settings menu: MENU button.

REFERENCE
- Nicknames are 1 – 8 characters and can be changed later.
6. Choose [OK] and press the  button.
 button.
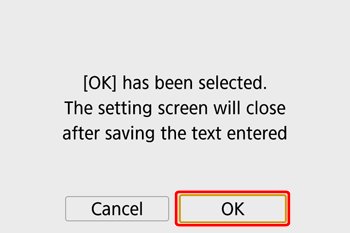
7. Press the MENU button.
Return to the function settings menu.
NOTE
- Wi-Fi and Bluetooth signal transmission can be turned off as follows.
- Wi-Fi: Press the MENU button and choose [  ] -> [
  ] -> [Wireless communication settings] -> [Wi-Fi settings] -> [Wi-Fi] -> [Disable].
 ] -> [
  ] -> [Wireless communication settings] -> [Wi-Fi settings] -> [Wi-Fi] -> [Disable].
 - Bluetooth: Press the MENU button and choose [  ] -> [
  ] -> [Wireless communication settings] -> [Bluetooth function] -> [Bluetooth function] -> [Disable].
 ] -> [
  ] -> [Wireless communication settings] -> [Bluetooth function] -> [Bluetooth function] -> [Disable].
1. With the camera on, press the  button.
 button.
- If the wireless settings screen is not displayed initially when you press the
 button, press the
  button again.
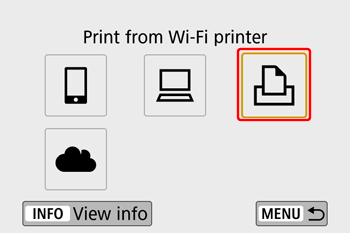
2. Choose [  ].
].
 ].
].
3. Choose [Register a device for connection] and press the  button.
 button.
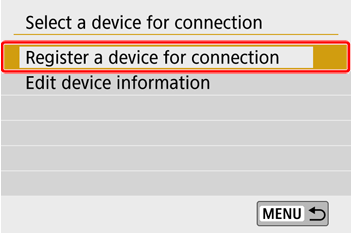
4. Check the SSID ( ) and password (
 ).
).
 ) and password (
 ).
).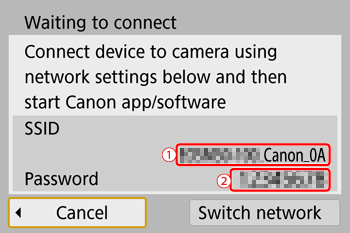
- The SSID ends with _Canon0A.
5. Use the printer to connect to the camera via Wi-Fi.
- In the printer's Wi-Fi setting menu, choose the SSID (network name) displayed on the camera to establish a connection.
- In the password field on the printer, enter the password displayed on the camera.
6. Choose the printer to use and press the  button.
 button.
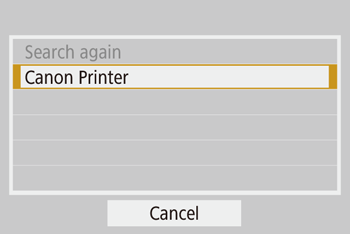
- Images on the memory card are displayed after the devices are connected via Wi-Fi.
7. Choose an image and press the  button.
 button.
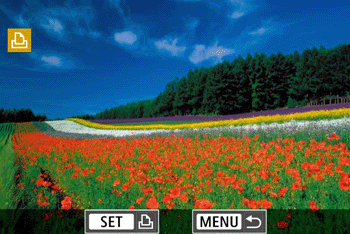
8. Choose [Print image], and then press the  button.
 button.
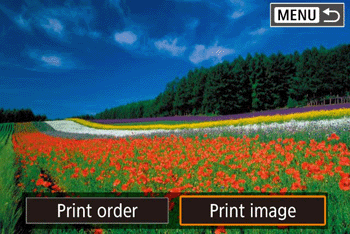
9. Print the image.
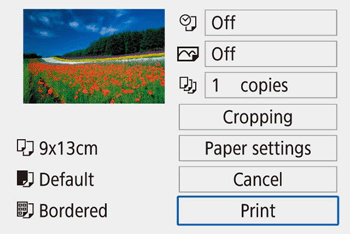
- Choose [Print] and press the button.
- Printing now begins.
- To print other images, after printing is finished, repeat this procedure from step 7.
Use the on-screen keyboard to enter wireless settings and other information.
Note that the length and type of information you can enter varies depending on the function you are using.
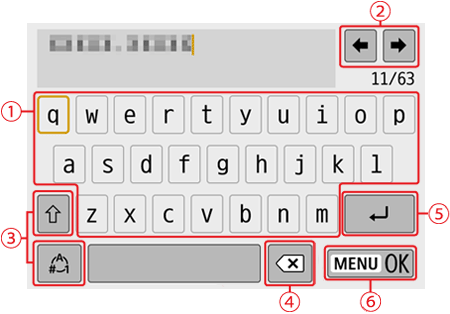
 | •Entering characters Touch a character to enter it. |
 | •Moving the cursor Touch  / /  . . |
 | •Switching input modes : Switch to uppercase. : Switch to uppercase. : Switch to numbers or symbols. : Switch to numbers or symbols. |
 | •Deleting characters Touch  . . |
 | •Entering line breaks Touch  . . |
 | •Confirming input Touch  . . |
REFERENCE
- Returning to the previous screen


