


Adjusting the Image Brightness for Shooting/Setting Exposure Compensation (EOS 7D Mark II)
Solution
Exposure compensation can brighten (increased exposure) or darken (decreased exposure) the standard exposure set by the camera. Exposure compensation can be set in the <P>, <Tv>, and <Av> shooting modes. Although you can set the exposure compensation up to ±5 stops in 1/3- stop increments, the exposure compensation indicator in the viewfinder and on the LCD panel can only display the setting up to ±3 stops. If you want to set the exposure compensation setting beyond ±3 stops, use the Quick Control or [  : Expo.comp./AEB].
: Expo.comp./AEB].1. Set the camera's power switch to <ON>.
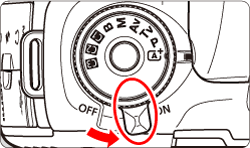
2. Set the Mode Dial to < P / Tv / Av >.

3. Press the shutter button halfway to confirm the exposure level.
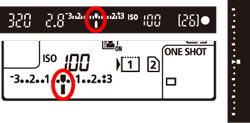
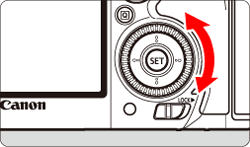
4. While looking at the viewfinder or LCD panel, turn the < > dial to adjust the amount of exposure compensation.
> dial to adjust the amount of exposure compensation.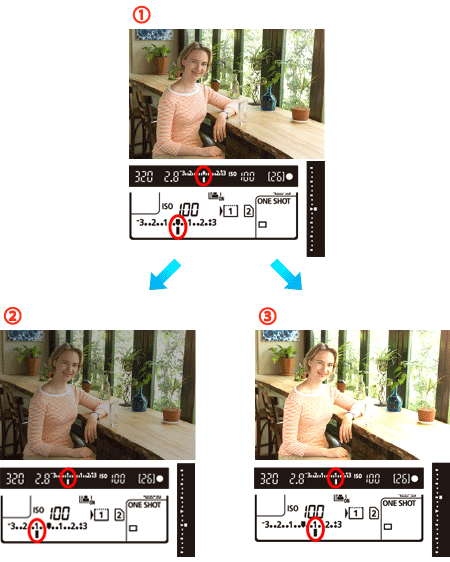
 : Standard
 : Decreased exposure for a darker image
 : Increased exposure for a brighter image
- If it cannot be set, set the <
 > switch downward, then turn the <> dial.
5. Shoot.
- To cancel exposure compensation, set the exposure level indicator <
 > to the standard exposure index (<
 >)
>)
IMPORTANT
If [ : Auto Lighting Optimizer] is set to any setting other than [Disable], the image may still look bright even if a decreased exposure compensation for a darker image is set.
: Auto Lighting Optimizer] is set to any setting other than [Disable], the image may still look bright even if a decreased exposure compensation for a darker image is set.NOTE
- The exposure compensation amount will remain in effect even after you set the power switch to <OFF>.
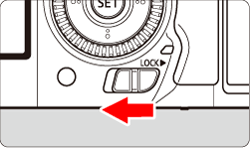
- After setting the exposure compensation amount, you can prevent the exposure compensation amount from changing accidentally by setting the <> switch to the right.
- If the exposure compensation amount exceeds ±3 stops, the end of the exposure level indicator will display <
 > or <
 >.
>.