


Uninstalling the USB Class Driver
Solution
Uninstall the USB class driver under the following circumstances.
- If you cannot install the printer driver properly even after reinstalling it [Installing the Software]
- If you cannot uninstall the printer driver [Uninstalling the Printer Driver]
1. Make sure that the computer is connected to the printer with the USB cable and that the printer is ON.
2. Display [Device Manager].

2-A-1. From the [Start] menu, select [Settings] > [Control Panel].
2-A-2. Double-click the [System] icon.
2-A-3. Click [Hardware] > [Device Manager].

2-B-1. From the [Start] menu, select [Control Panel].
2-B-2. Click [Performance and Maintenance] > [System].
2-B-3. Click [Hardware] > [Device Manager].

2-C-1. From the [Start] menu, select [Control Panel] > [System].
2-C-2. Click [Hardware] > [Device Manager].

2-D-1. From the [Start] menu, select [Control Panel].
2-D-2. Click [Hardware and Sound] > [View hardware and devices].
NOTE
If you are using Windows Vista and the [User Account Control] dialog box appears, click [Continue].
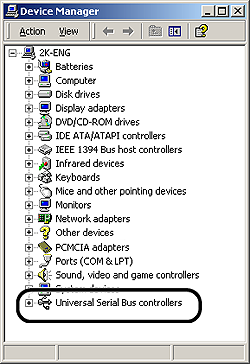
3. Double-click [Universal Serial Bus controllers].
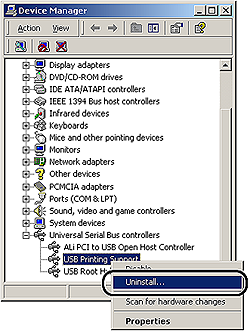
4. Right-click [USB Printing Support], then select [Uninstall] from the pop-up menu.
IMPORTANT
- If the USB class driver is under [Other Devices], the printer is not installed properly. Select [Unknown device], then uninstall it.
- Do not uninstall any drivers for other devices. If you uninstall them by mistake, Windows may not operate properly.
- If the USB class driver is not installed properly, [USB Printing Support] is not displayed.
5. Click [OK].
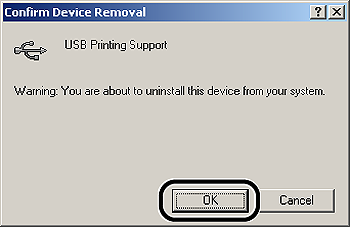
6. Click [Close].
[Device Manager] closes.
7. Disconnect the USB cable from the computer, then restart Windows.
After Windows restarts, reinstall the printer driver. [Installing the Software]