Printing ID Photos (ID Photo Print)
Printing ID Photos (ID Photo Print)
|
Note:
|
||
|
|
-
|
To select items that are displayed on the printer's LCD monitor, press the bottom at the
|
|
|
|

|
|
|
-
|
Screens, menu listings, or the locations of the buttons may differ depending on the printer model being used.
|
|
|
-
|
When printing from the memory card, please make sure that no cameras or PCs are connected.
|
|
|
-
|
[SELPHY ES2 / 20] can print ID photos (ID Photo Print) only from images of size [L] (large) taken with Canon digital cameras.
|
|
|
|
There are cases in which the ID photos printed with compact photo printers cannot be used as formal ID photos depending on the purpose. Please contact the organization or group to which the photo is to be submitted to find out if ID photos printed with compact printers are acceptable.
|
1. Turn on the printer and insert the memory card into the printer.

Insert the memory card into the appropriate slot. There are lead-in guides to match the size of the memory cards in [SD/miniSD/MMC+] slot. Please insert small memory cards (miniSD cards) into the lower slot, following the guide. Insert only one memory card.
2. Press the <CREATIVE> button ( ).
).

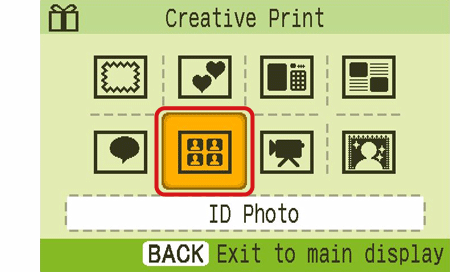
3. The following screen appears. Select [ID Photo] and press the <SET> button ( ).
).
4. The following screen appears. Select the image that you want to print, and press the <SET> button ( ).
).

5. The following screen appears.
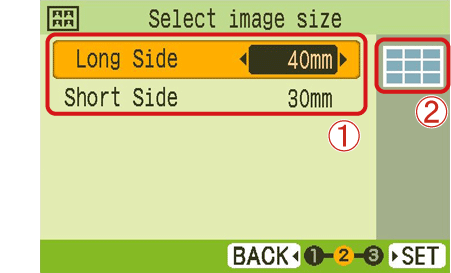
Press the <SET> button (
6. The following screen appears. The green border on the screen shows the area that will be printed.

7. Adjust the printed area by pressing the <Enlarge, Reduce> buttons (
 ) to enlarge or reduce it. Press the <SET> (
 ) button after determining the printed area.

8. The following screen appears.

Press <Print> ( ) after specifying the number of copies.
9. The following screen appears and printing starts.

10. The finished image will look like the one shown below (It will differ depending on the type of paper and the size of the ID photos).
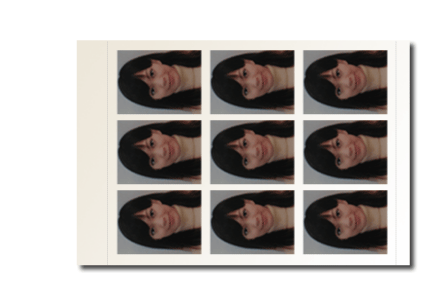
This completes the process of printing ID photos.

