Promotion
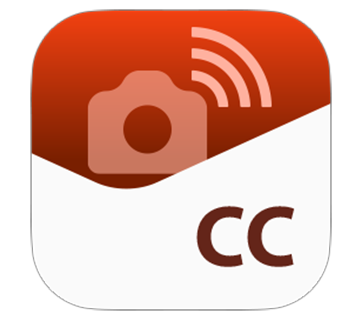
Canon Camera Connect
Seamless Connectivity
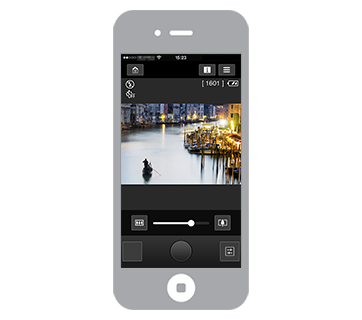
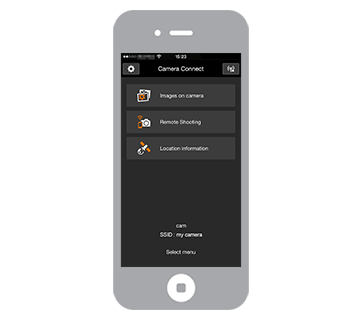
Camera Connect App wirelessly connects your compatible Canon camera with your mobile devices. Accessing all the photos on the camera and transferring them over has never been easier. Not only the app allows remote shooting but it can also add GPS data to the images.
Wi-Fi Connect
Before you begin, make sure you download the Camera Connect app on your mobile device and create a Smartphone Nickname to enable camera recognition of the mobile device.
- Start the camera and press the Mobile Device Connect [
 ] button located on the camera body
 - Enter a nickname for your camera and press [OK]
- Select the [
 ] icon and press [Func. Set] under the Mobile Device Connection screen
 - Activate your mobile device’s Wi-Fi, then select and enter the camera’s SSID and password (displayed on the camera’s connection screen)
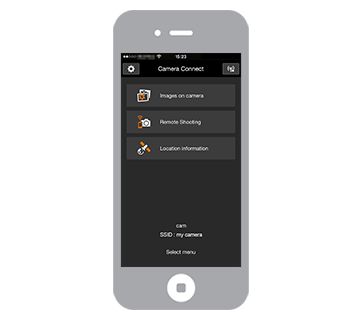
- Start the Camera Connect app and begin
Images and steps may differ on Android and iOS mobile devices, and on PowerShot and IXUS models.
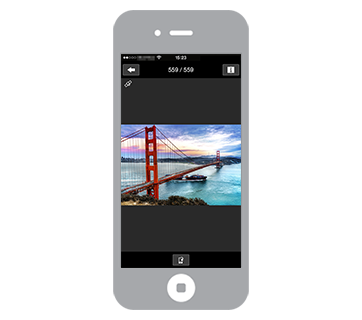
Transfer Photos
Before transferring, make sure both your camera and mobile device are wirelessly connected. Please refer to Wi-Fi Connect to establish a connection.
- Start the Camera Connect app and tap [
 ]
] - Tap [
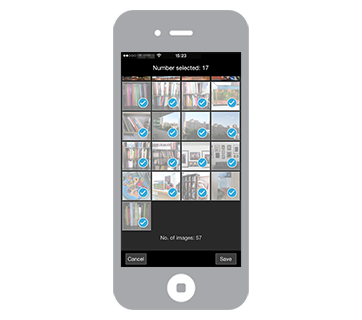
 ] to select images from the list of photos in the camera
 - Tap images to select (marked by
 ) and tap [Save] at the bottom right corner
Images and steps may differ on Android and iOS mobile devices.
Remote Shoot
Before remote shooting, make sure both your camera and mobile device are connected to the same wireless network.
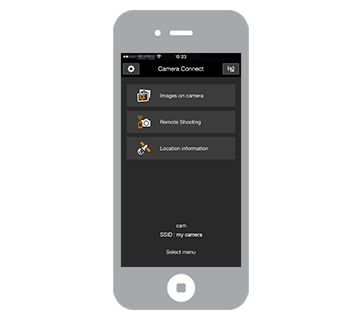
- Start the Camera Connect app and tap [
 ]
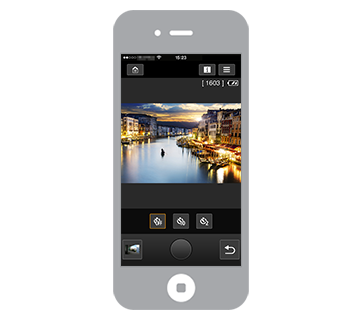
] - Tap [
 ] to select a 2 sec. or 10 sec. self-timer
 - Tap [
 ] to return to the live screen and tap [
 ] to begin snapping
Images and steps may differ on Android and iOS mobile devices.
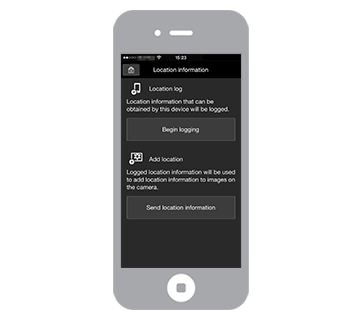
Location Tag
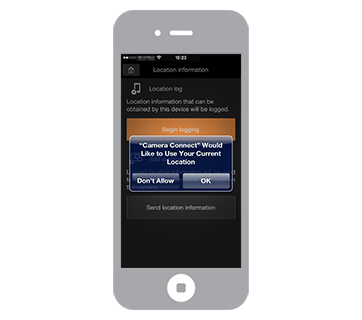
Before tagging, make sure both your camera and mobile device are connected to the same wireless network; and the location service for the Camera Connect app on your mobile device is enabled.
- Start the Camera Connect app and tap [
 ]
] - Tap [Begin logging] and tap [OK] in the on-screen message to begin shooting using your camera
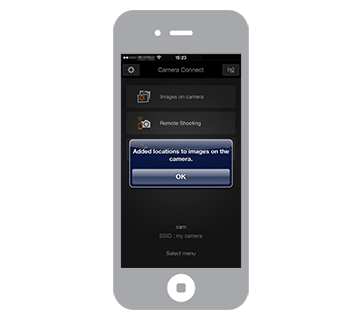
- Once shooting is complete, reconnect your mobile device to your camera and tap [OK] to transfer logged information
- Photos on your mobile device with GPS data will have [
 ], return to the [Location information] screen and tap [End logging]
 - Tap [Send location information] to tag photos in your camera with the recorded GPS data
Images and steps may differ on Android and iOS mobile devices.
Specifications
Requirements
Requirements
For successful usage, ensure:
- The app has been downloaded onto your mobile device
- The initial Wi-Fi setup between your camera and mobile device has been completed
- Your mobile devices have the latest operating systems, please refer to the App Store℠ and the Google Play™ Store for more
Note
- For more information on compatibility, please refer to the App Store℠ and the Google Play™ Store.
- Please restart the app if it does not operate properly.
- Be careful when posting images online that contain your personal information, as many others can view them.
- This app is not guaranteed to operate on all Android and iOS mobile devices.
- Continued use of GPS running in the background can dramatically decrease battery life.
Android, Google, Google Play and other marks are trademarks of Google Inc. iPad, iPhone, and the iPod touch are trademarks of Apple Inc., registered in the U.S. and other countries.
Product Disclaimer
- 01. Prices, specifications, availability and terms of offers may change without notice.
- 02. Products / Services may be manufactured by and/or supplied to us by third party manufacturers / suppliers for distribution / resale (non-Canon brand products).
- 03. Prices above are recommended retail price in SGD and may change without prior notice.

