Switching between Displays on the LCD Screen (Shooting/Playback) (XC10)
22-Apr-2015
8202617700
Solution
Using onscreen markers allows you to make sure your subject is correctly framed. The onscreen markers will not affect your recordings.
- Displaying Onscreen Markers
You can display a grid or a horizontal line at the center of the screen. Use the markers, which can be displayed in white or gray, to make sure your subject is framed correctly.
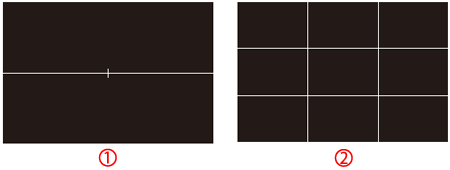
 : Horizontal line (level)
 : Grid
1. Turn on the camcorder.

2. Press the [MENU] button.
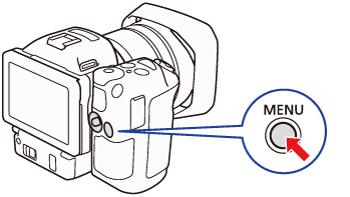
3. Touch [  ] Camera Setup menu > [Onscreen Markers].
 ] Camera Setup menu > [Onscreen Markers].
*In Photo Shooting mode, choose [  ] Camera Setup menu.
 ] Camera Setup menu.
4. Select the desired option.
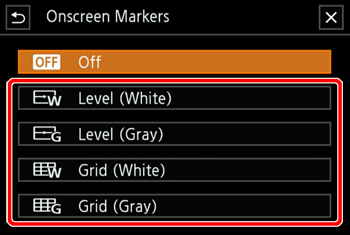
5. Touch [  ].
].
 ].
].6. The horizontal line (level) or grid you selected is displayed on the screen.

* When [Level (White) is selected.
In the video clip and photo shooting modes, you can select the appropriate option to display the date and/or the time. In photo shooting mode, you can also choose to select [Camera Data] to display the aperture and shutter speed.
1. While the camcorder is turned off, hold the [  ] button (
 ) pressed down. The thumbnails of clips and photos you have recorded are shown in index screens sorted by the type of recording.
 ] button (
 ) pressed down. The thumbnails of clips and photos you have recorded are shown in index screens sorted by the type of recording.
2. Touch [MENU] -> [  Playback Setup] -> [Data Code].
 Playback Setup] -> [Data Code].

3. Touch the desired option.
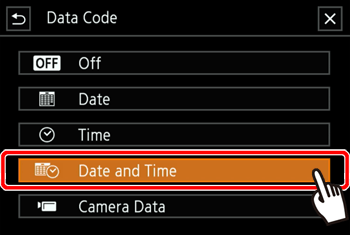
4. Touch [  ].
].
 ].
].5. When you play back clips, the data code you selected will be displayed.

6. When photos are played back, the selected data code will be displayed.

* When [Time] has been set.