How to change the connection method from USB to wireless (Windows)
25-Jul-2011
8201141900
Solution
Before connecting this printer to the network, confirm the following two items, (A) and (B).
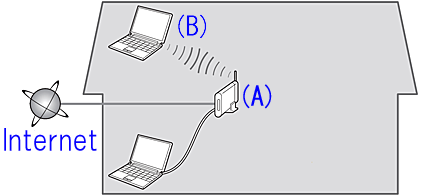
(A) Access point or router (supporting IEEE802.11b/g/n)
An access point or router is a relay device which connects not only the Internet and network devices such as a computer or printer, but also one network device to another.
So, your access point or router must be properly set before you go to the next setup step.
(B) The computer to be used with the printer must be connected to the network.
In order to confirm whether the computer to be used with the printer is connected to the network, try to browse the Internet website from the computer.
CAUTION
- If you do not know how to set up the router / access point or the Internet, please refer to:
- Regarding the setup method and the functions of the access point or the router, refer to the instruction manual for the access point or the router you are using, or contact each manufacturer.
- Regarding the setup method of the computer, refer to the instruction manual for the computer you are using, or contact its manufacturer.
In order to use the printer in a wireless connection, follow the procedures below.
In order to use the printer in a wireless connection even after the USB connection is completed, follow the procedures below to perform the wireless setup again.
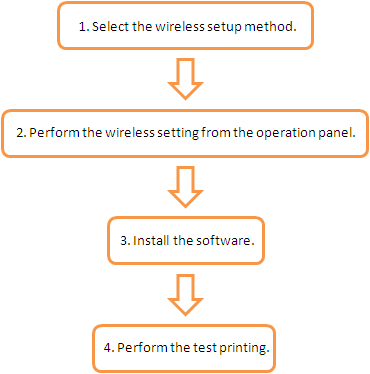
1. Select the wireless setup method.
To use the printer in a wireless connection, select the wireless setup method you prefer.
2. Perform the wireless setting from the operation panel.
Perform the setting based on the setup method you selected in the step 1 using the operation panel.
3. Install the software.
Install the software into the computer used with the printer.
4. Perform the test printing.
Try wireless printing to confirm whether the wireless setup has been performed properly.
To use the printer in the wireless connection, first select the wireless setup method.
- Standard setup connection:
Perform the wireless setup manually.
In most cases, you can create a wireless environment using this setup method.
- WPS connection:
If the access point or the router you are using supports the WPS function, you can use this setup method to connect the printer in a wireless connection.
Confirm that the access point or the router you are using has the WPS button.

REFERENCE
- There is the WPS mark
 on the access point or the router you are using if it supports the WPS function.
IMPORTANT
- Quit all applications before installation.
- Log on using an administrator account.
- Internet connection may be required during the installation. Connection fees apply.
Screens are based on Windows 7 operating system Home Premium. Actual screens may differ depending on the OS version.
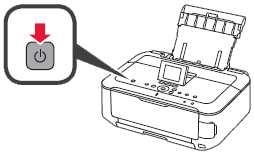
1. Press the ON button to turn off the machine.
Operating noise stops after about 1 minute.
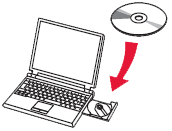
2. Insert the CD-ROM into the computer.
IMPORTANT
If the USB cable is already connected, unplug it. If a message appears on the computer, click Cancel.
3. Click Run Msetup4.exe on the AutoPlay screen, then click Yes or Continue on the User Account Control dialog box.
If the User Account Control dialog box reappears in following steps, click Yes or Continue.
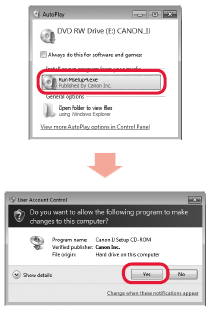
REFERENCE
If the CD-ROM does not autorun:
Double-click (My) Computer > CDROM icon > MSETUP4.EXE.
4. Click Change Connection Method.

5. Click Network Connection.
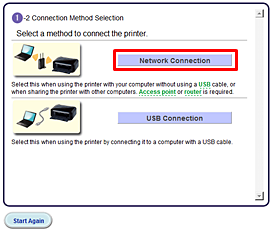
6. Click Wireless Connection.
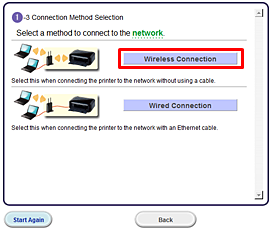
Follow the instruction and go to step 7.
REFERENCE
If an error message is displayed, see "Troubleshooting" at the right.
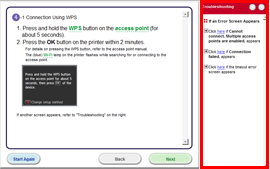
7.
- WPS connection:

When the screen left above is displayed, go to the step (A).
When the screen right above is displayed, go to the step (B).
(A) Click Push Button Method.
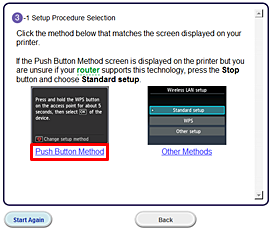
-> Go to 8.
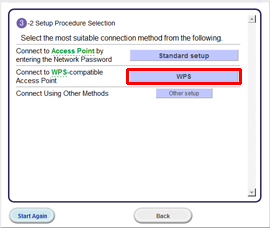
(B) Click Other Methods.
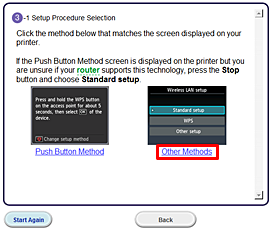
Click WPS.
- Standard setup connection:
Click Other Methods.

Click Standard setup.
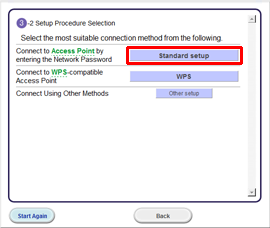
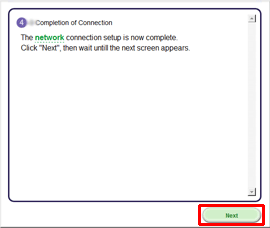
8. Follow the instruction until the screen below is displayed.
Network connection setting is complete.
Click Next.
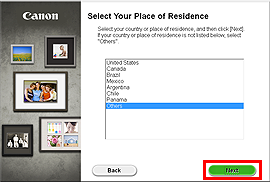
9. Select your place of residence, then click Next.

10. Select a country or region, then click Next.
Let’s perform the software installation.
1. Click Next.
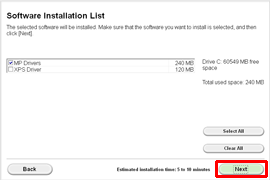
Follow any on-screen instructions to proceed with the software installation.
2. When the Setup Completion dialog box appears, click Complete.
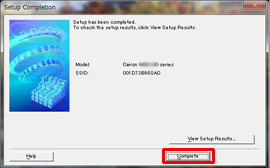
IMPORTANT
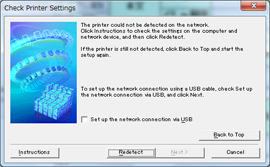
- When this printer has not been detected, the Check Printer Settings dialog box is displayed. In such a case, refer to [ The printer cannot be detected (the message that the printer could not be detected on the network is displayed) ].
3. Click Next.

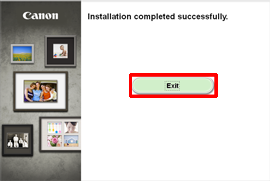
4. Click Exit to complete the installation.
Remove the Setup CD-ROM and keep it in a safe place.
5. Solution Menu EX starts.
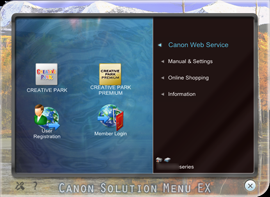
The end of the procedure of the wireless LAN setup.